1 / 5
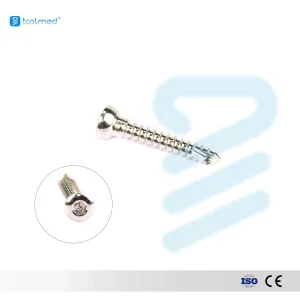
The lag screw technique requires a gliding hole in the near cortex and a threaded hole in the far cortex. When tightened, the head engages the near cortex, pulling the far fragment towards it to create compression.
Step 1: Preoperative Planning
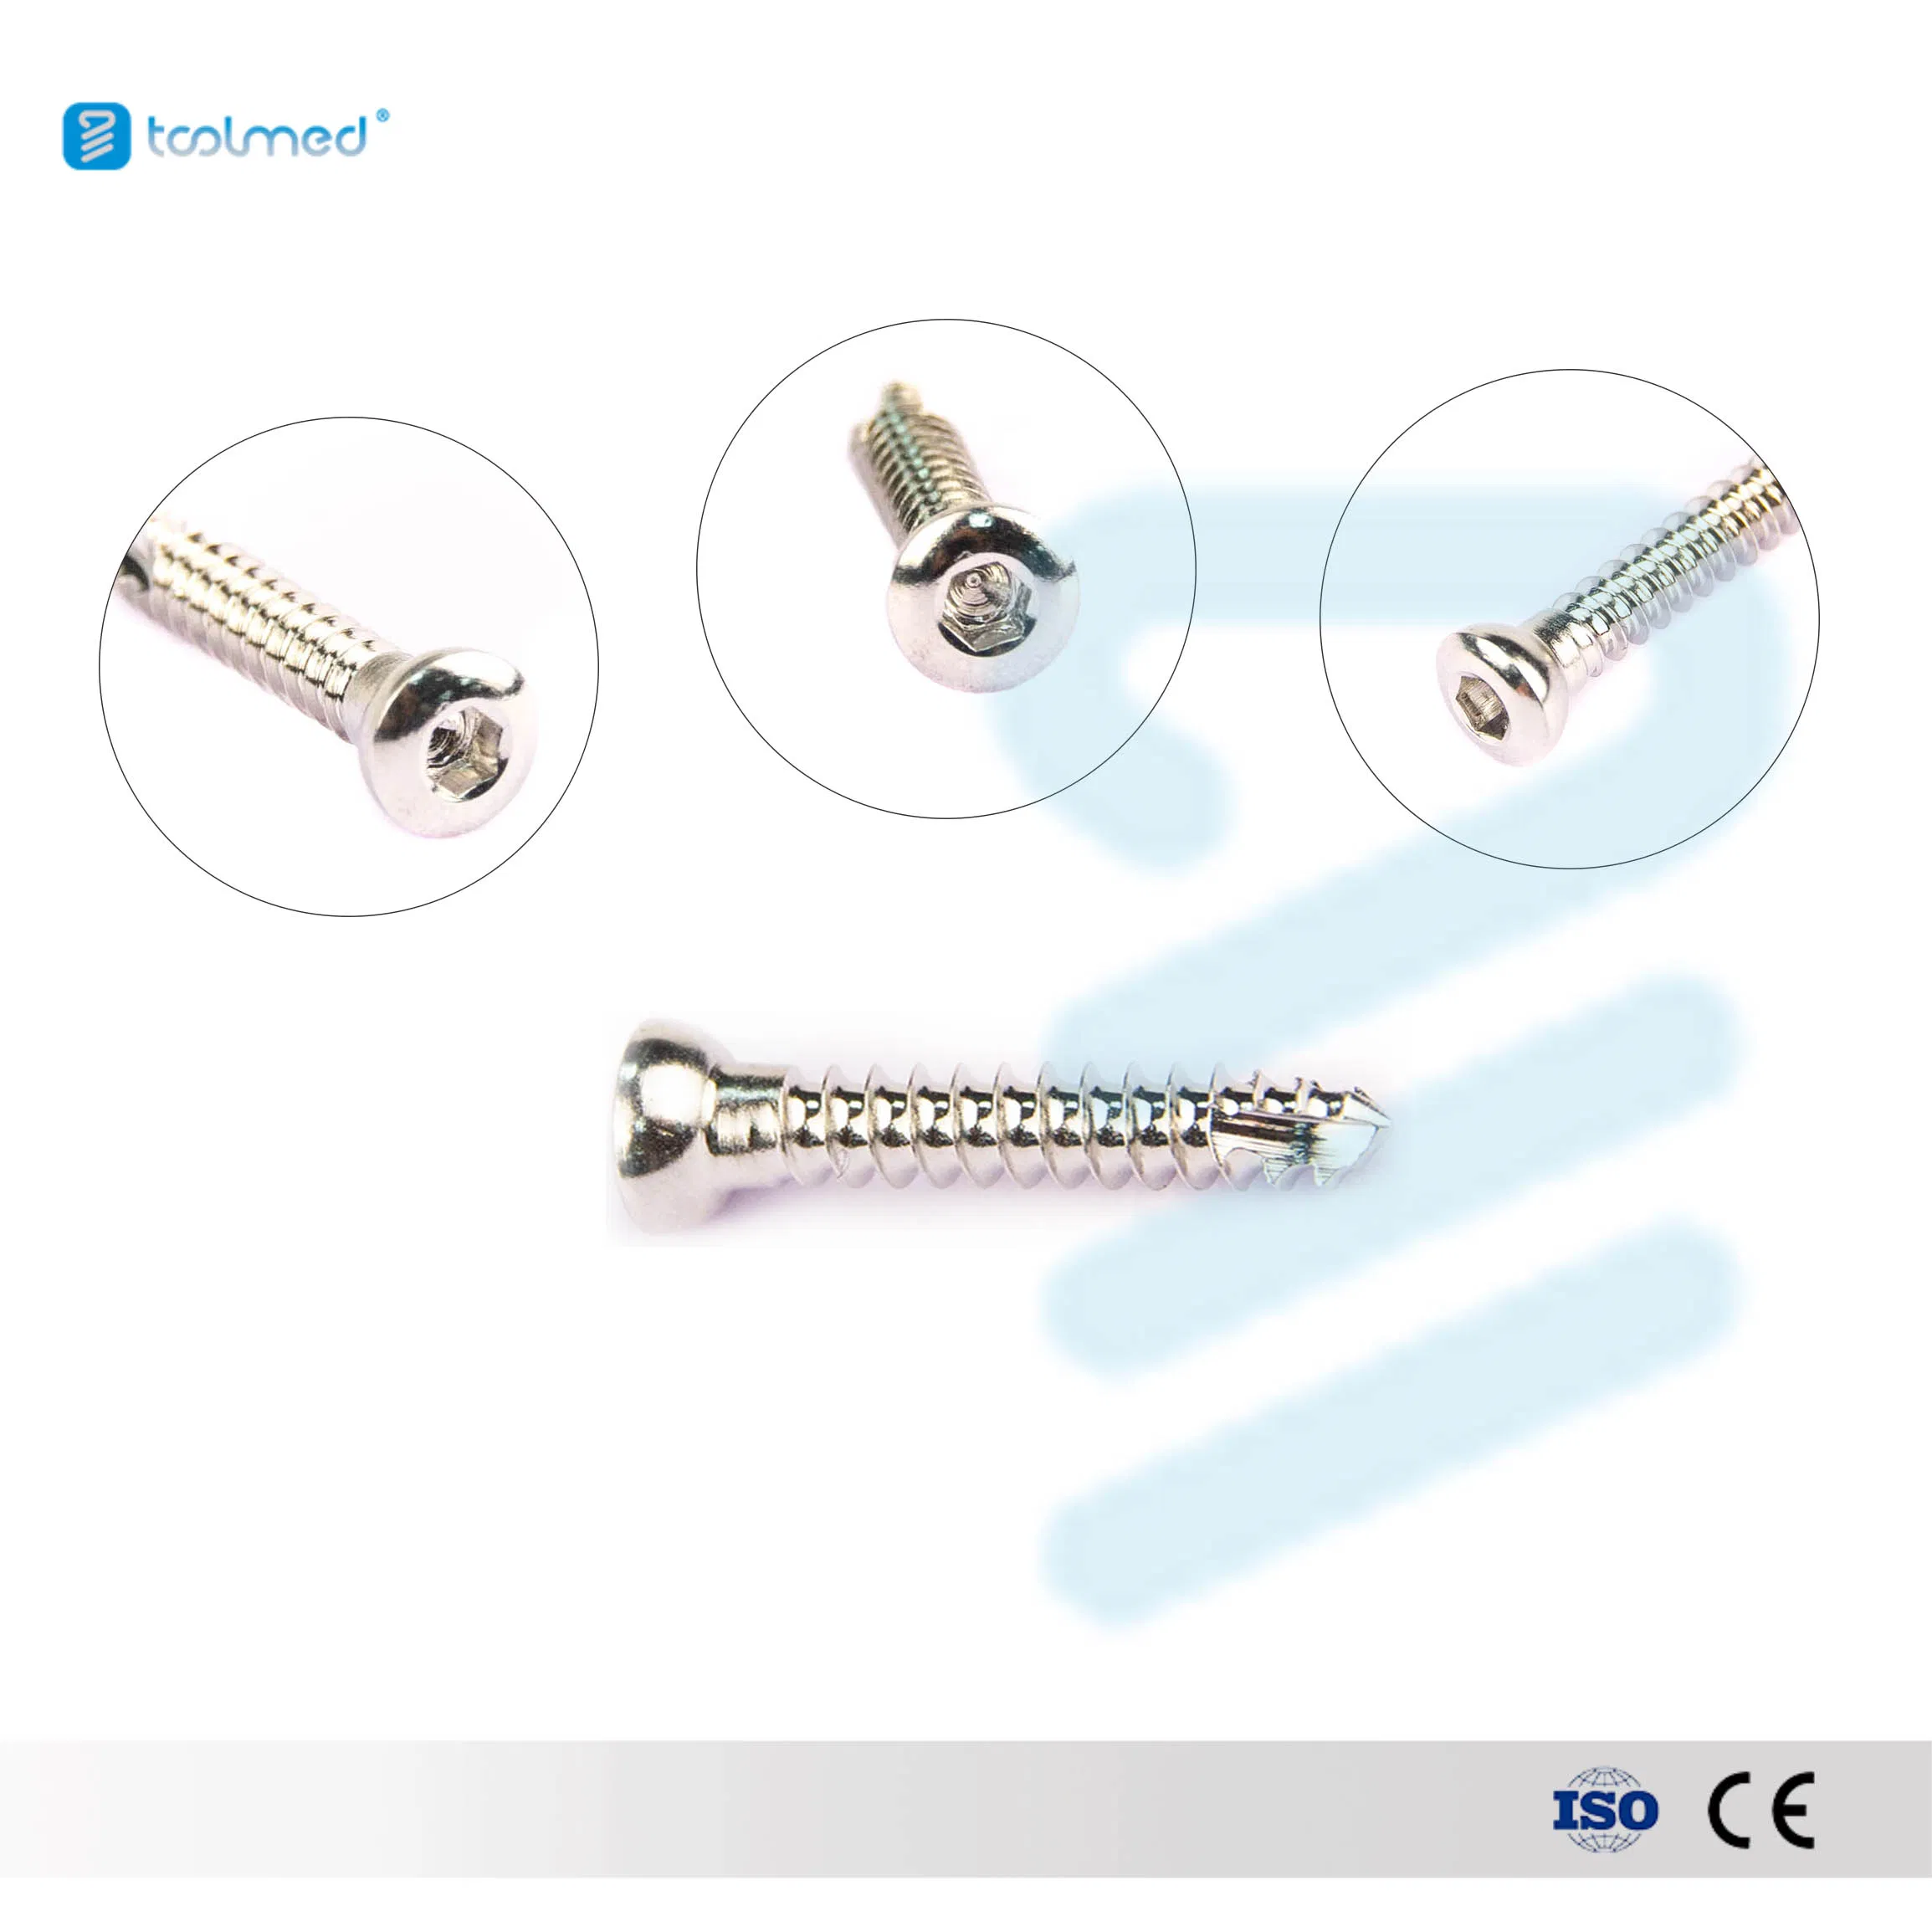
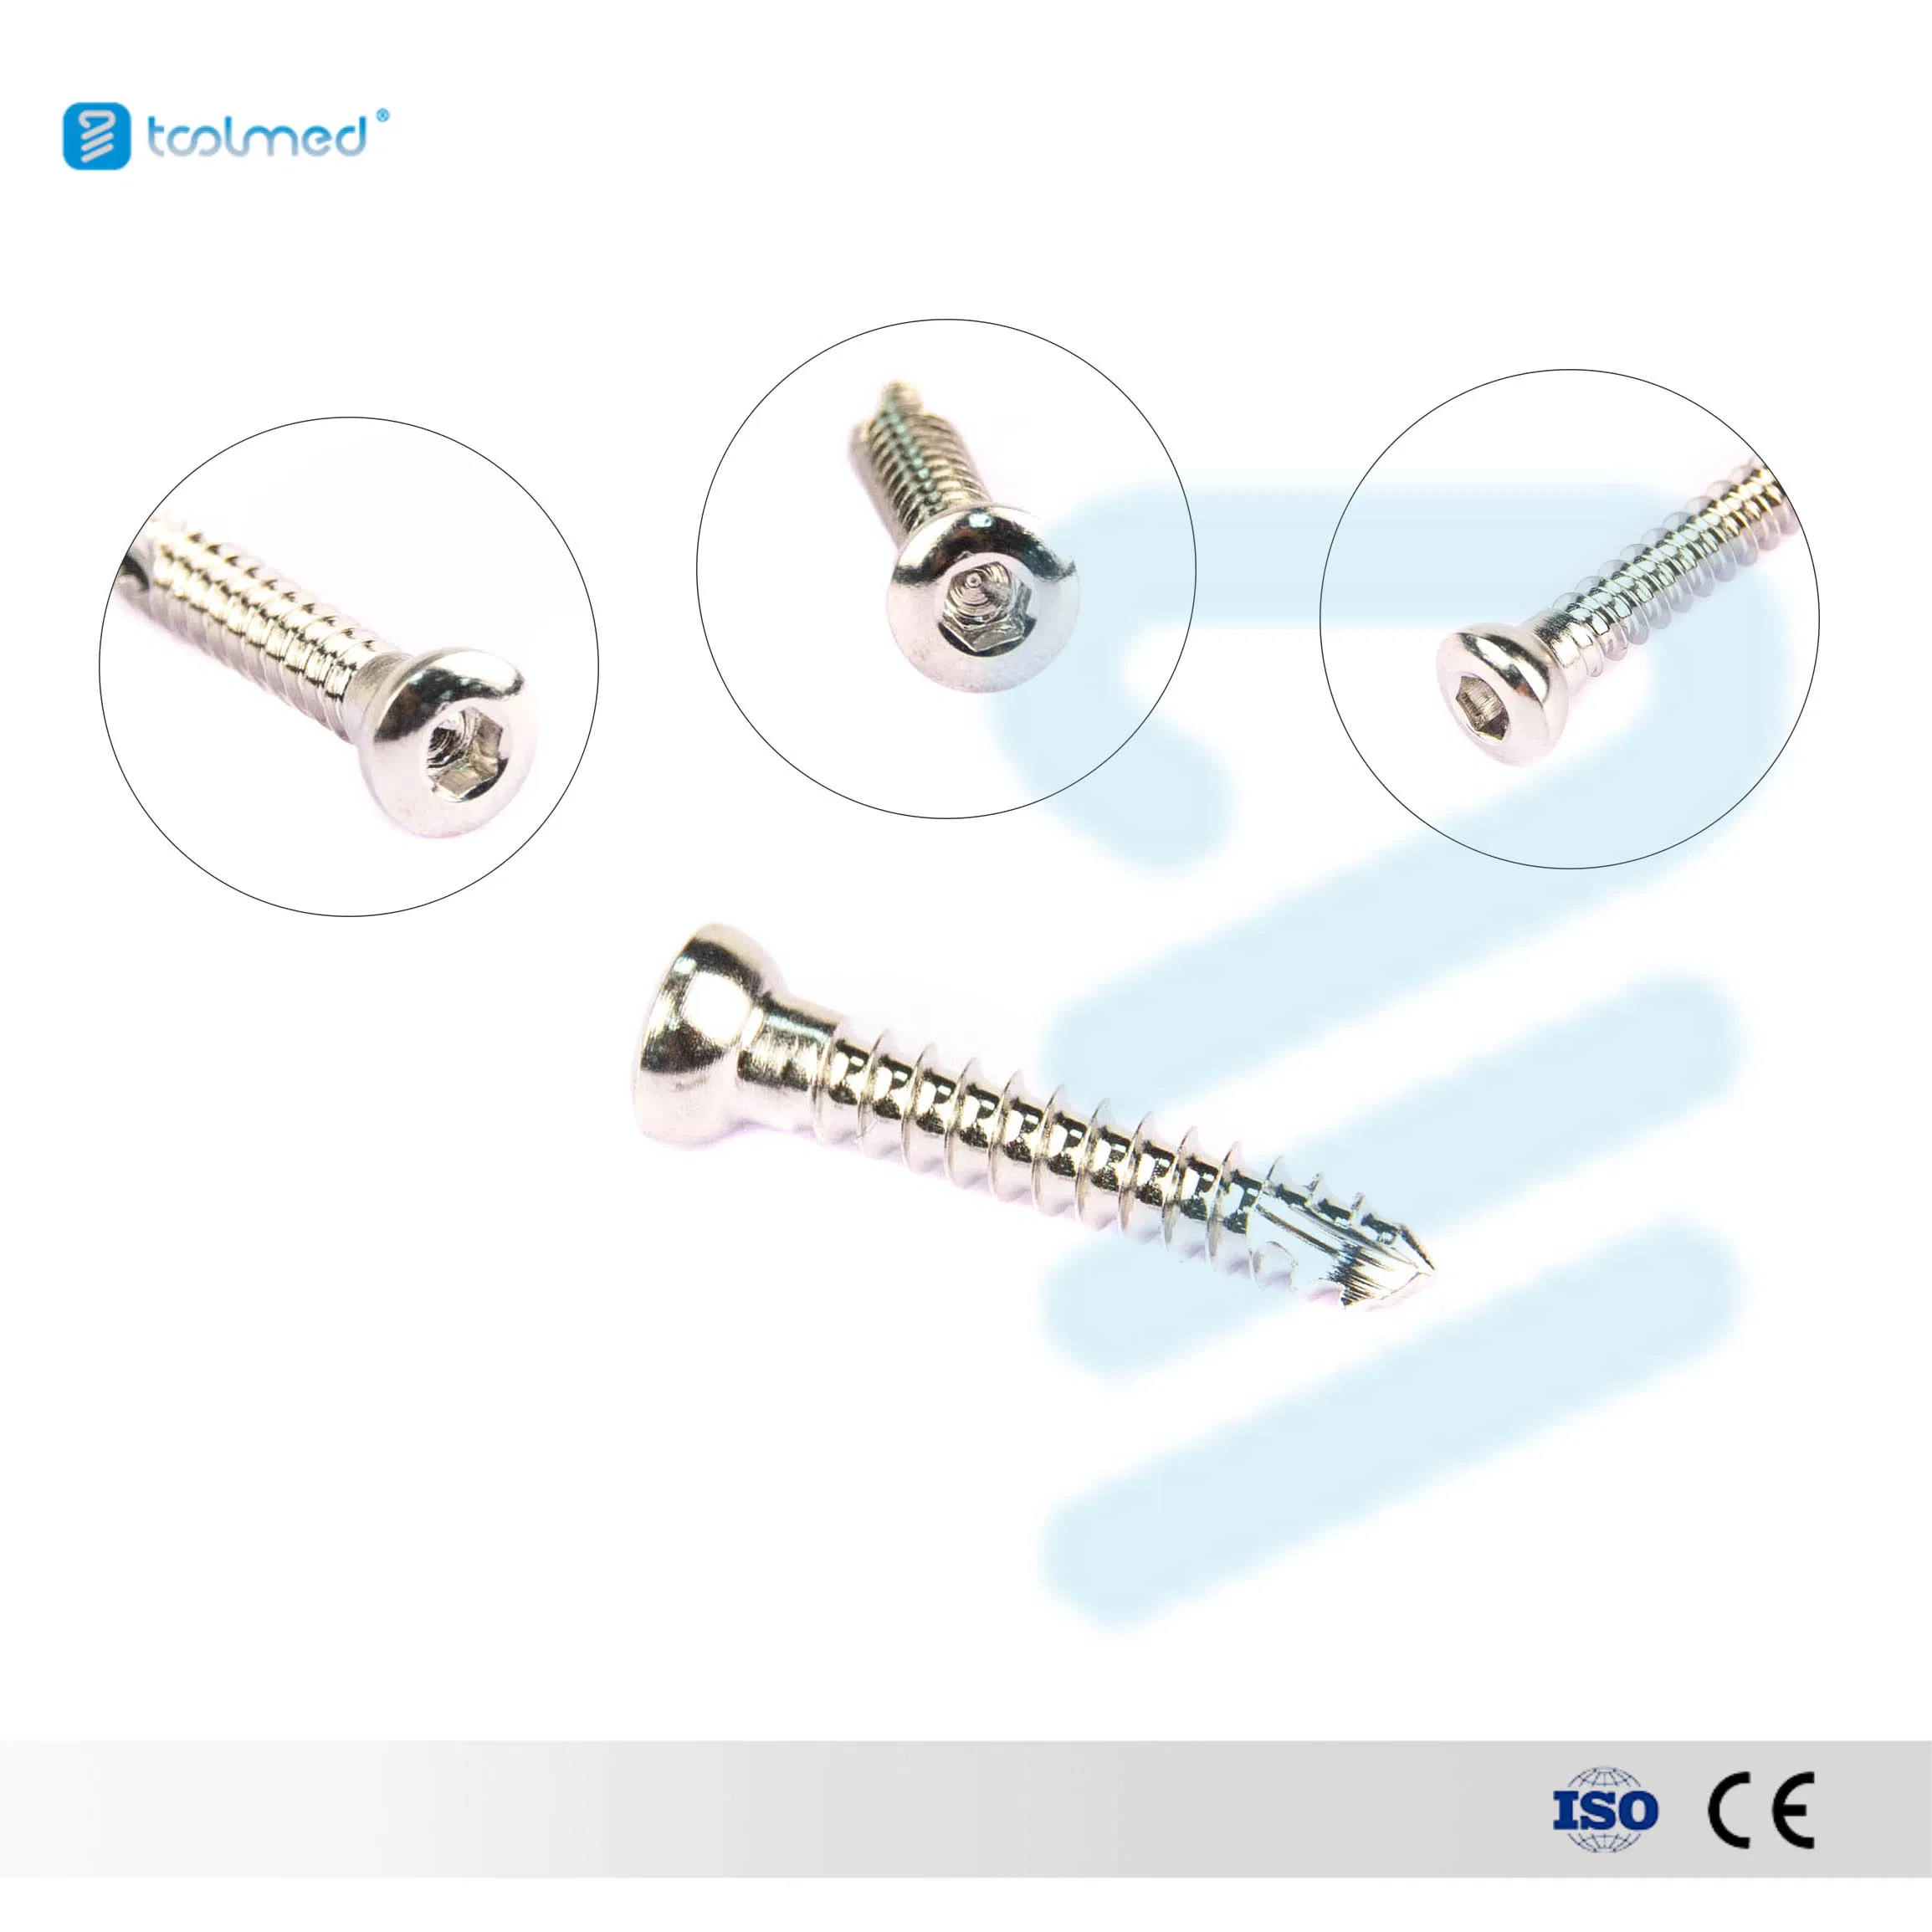
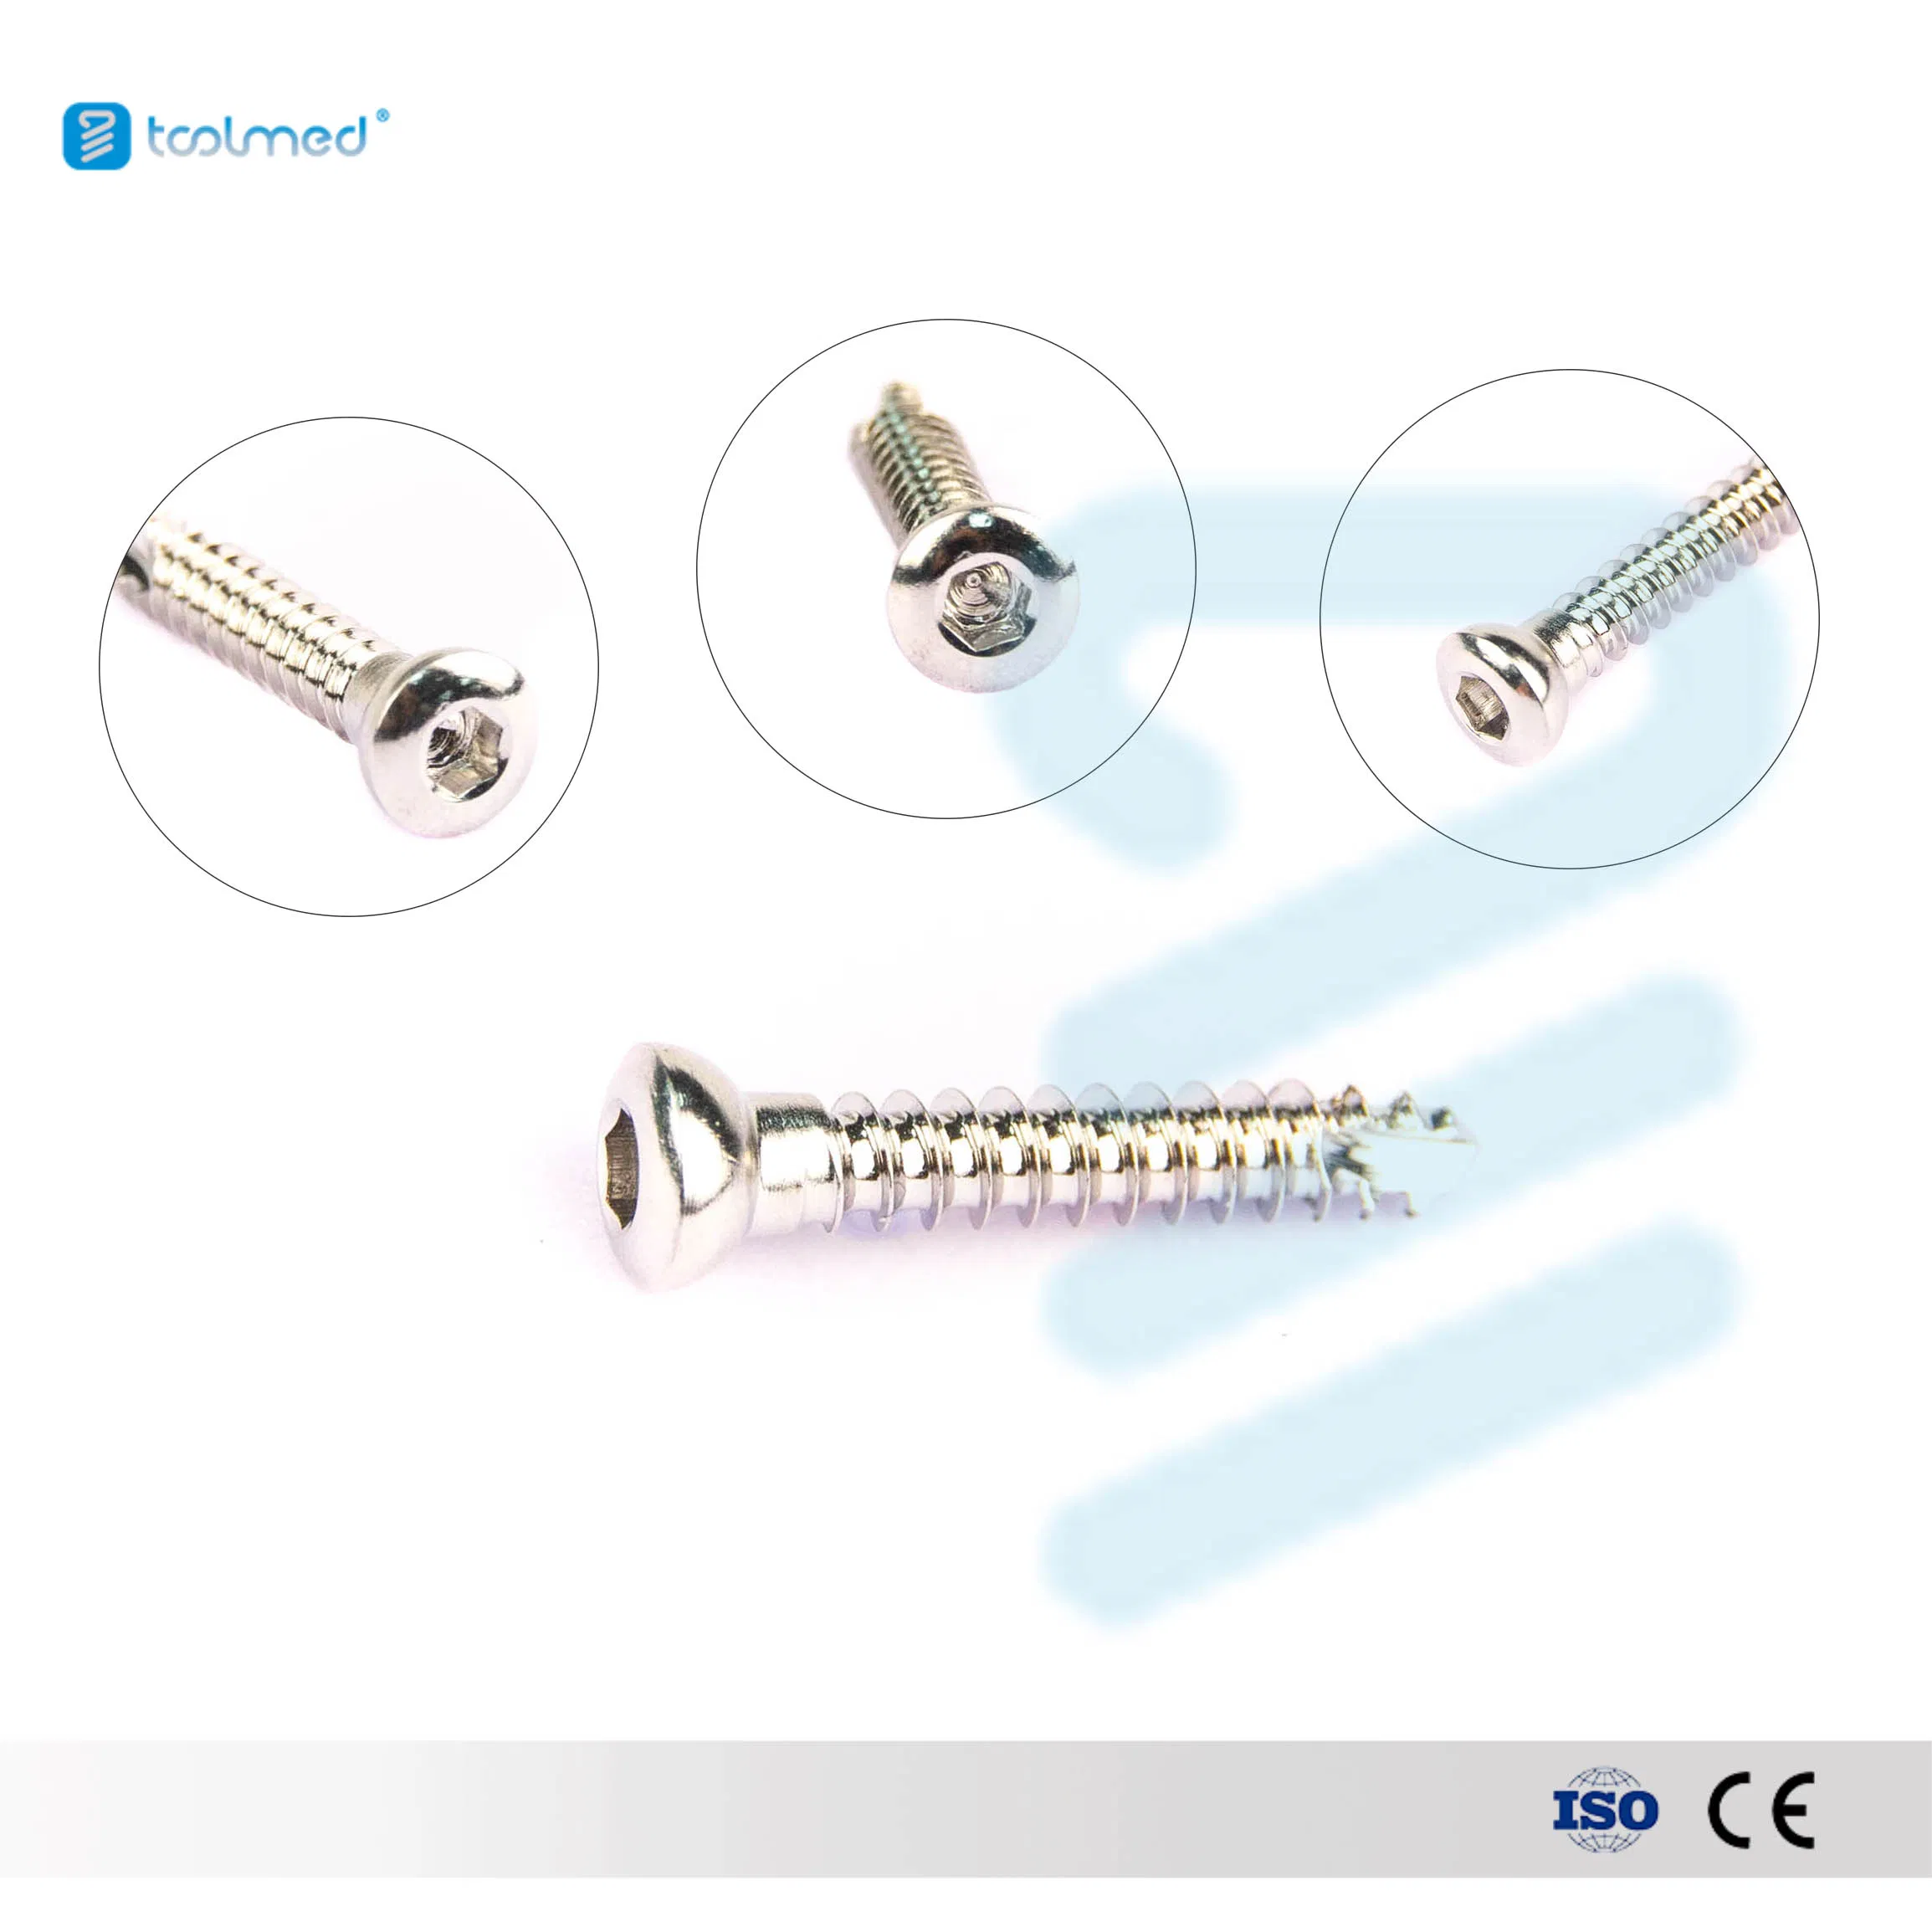
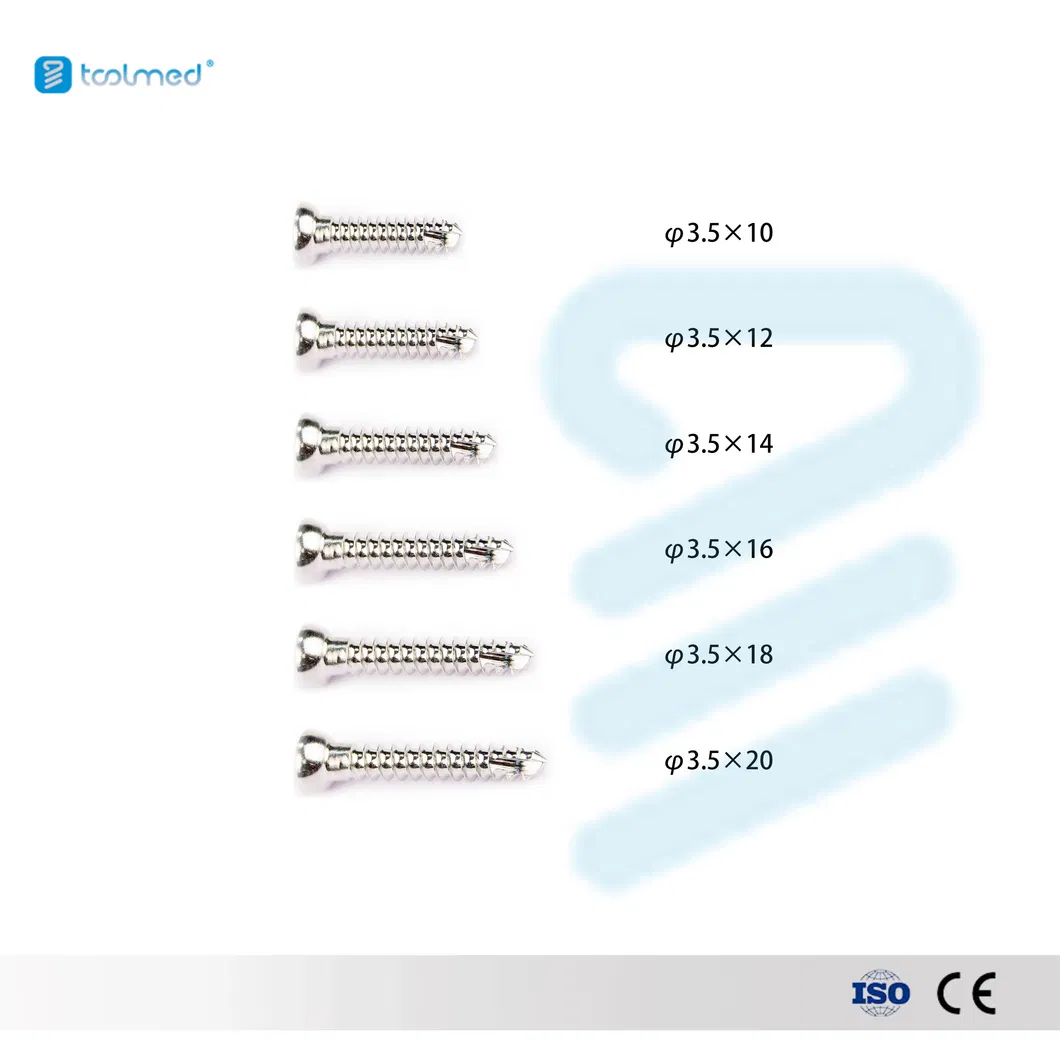
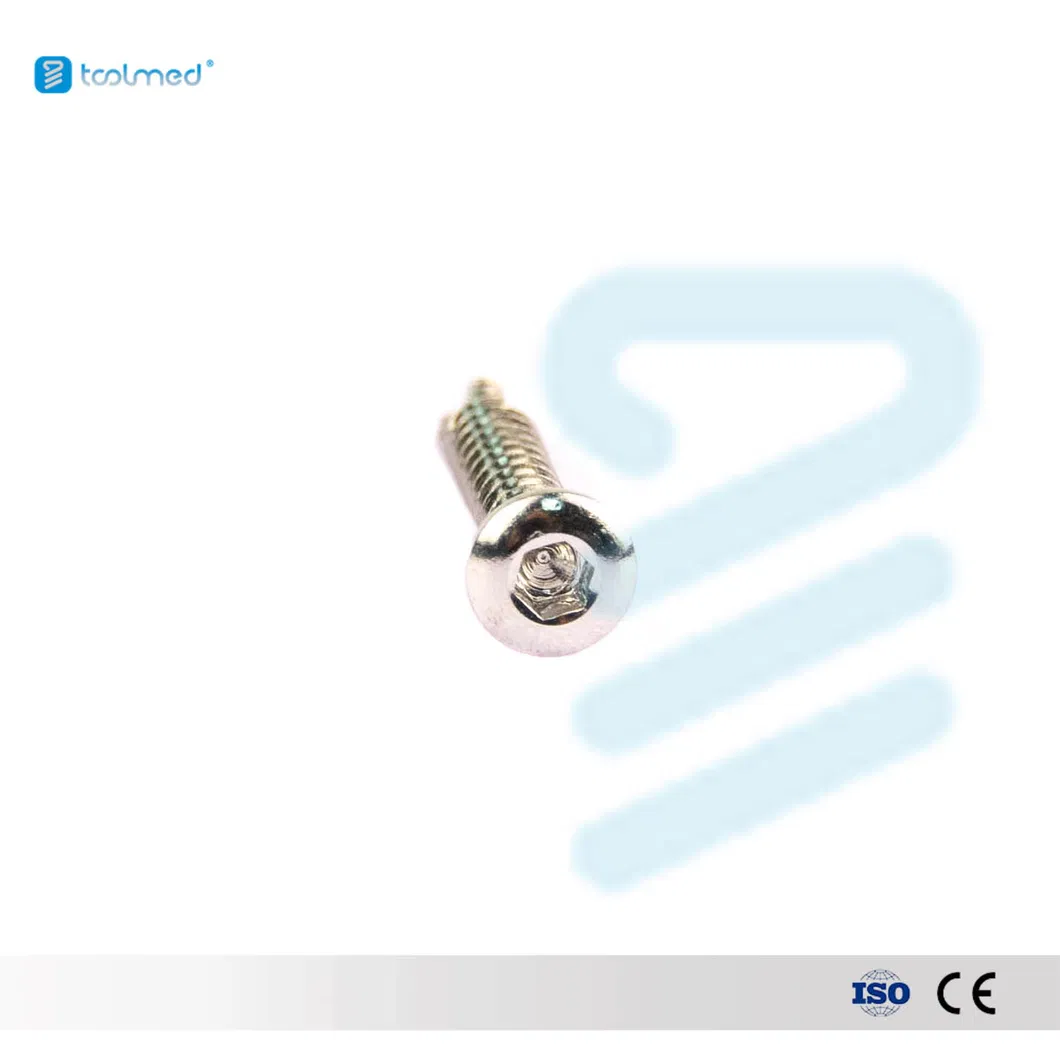
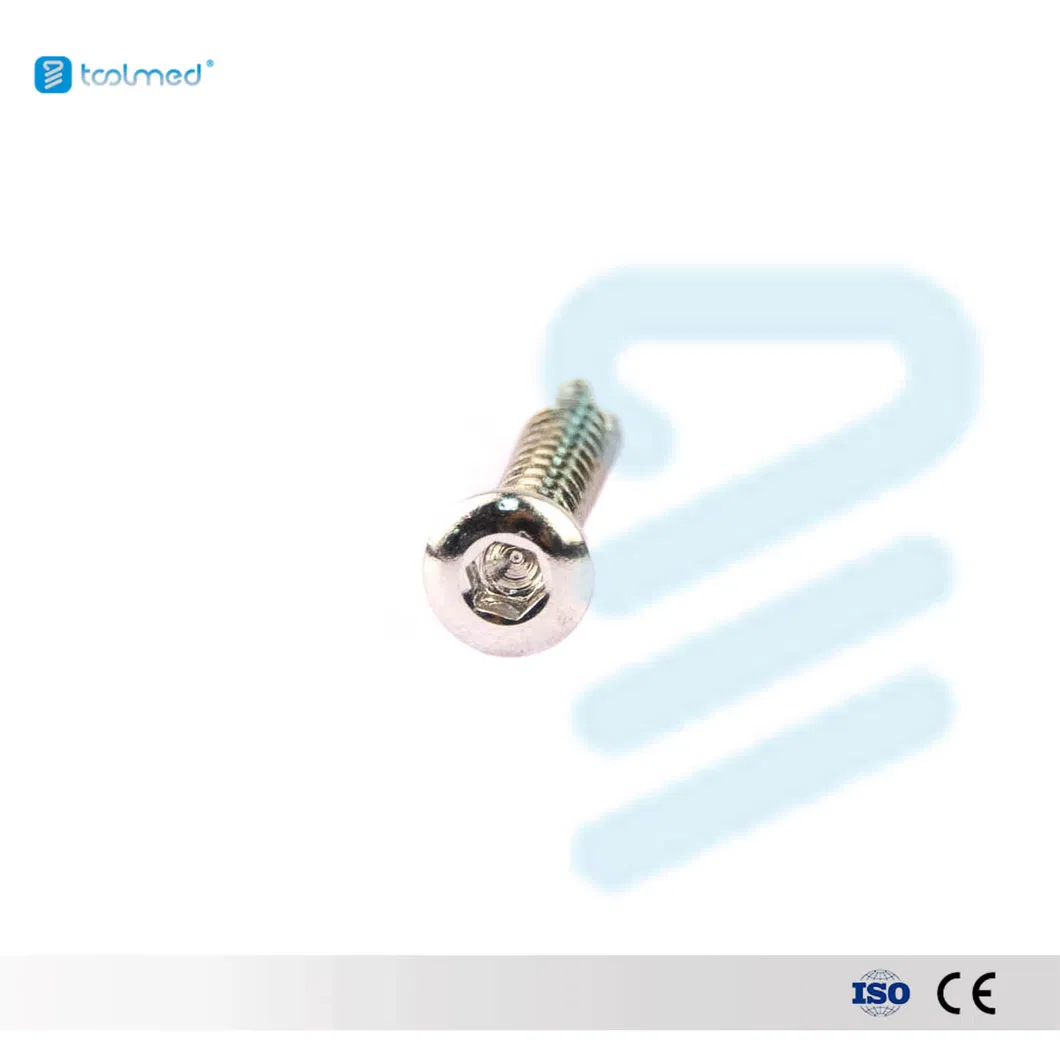
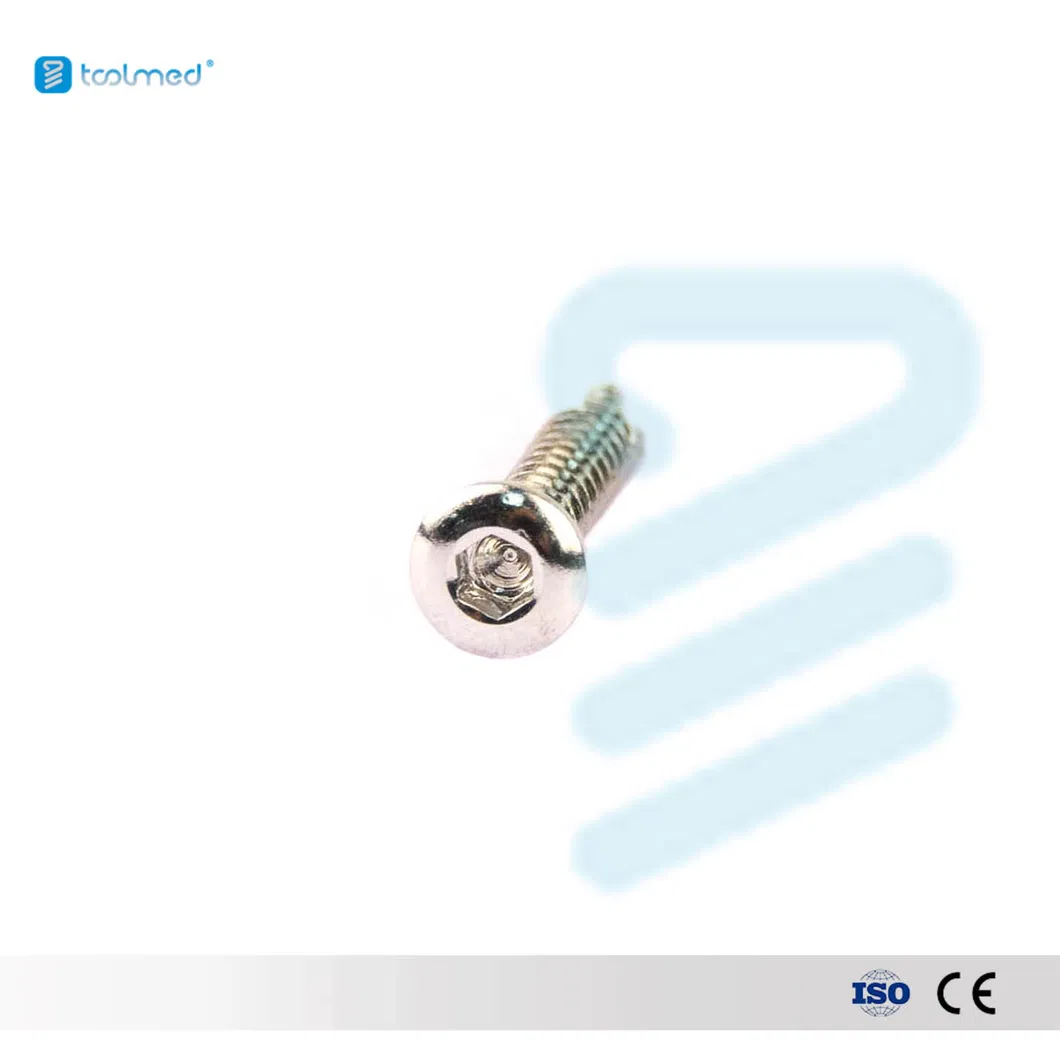
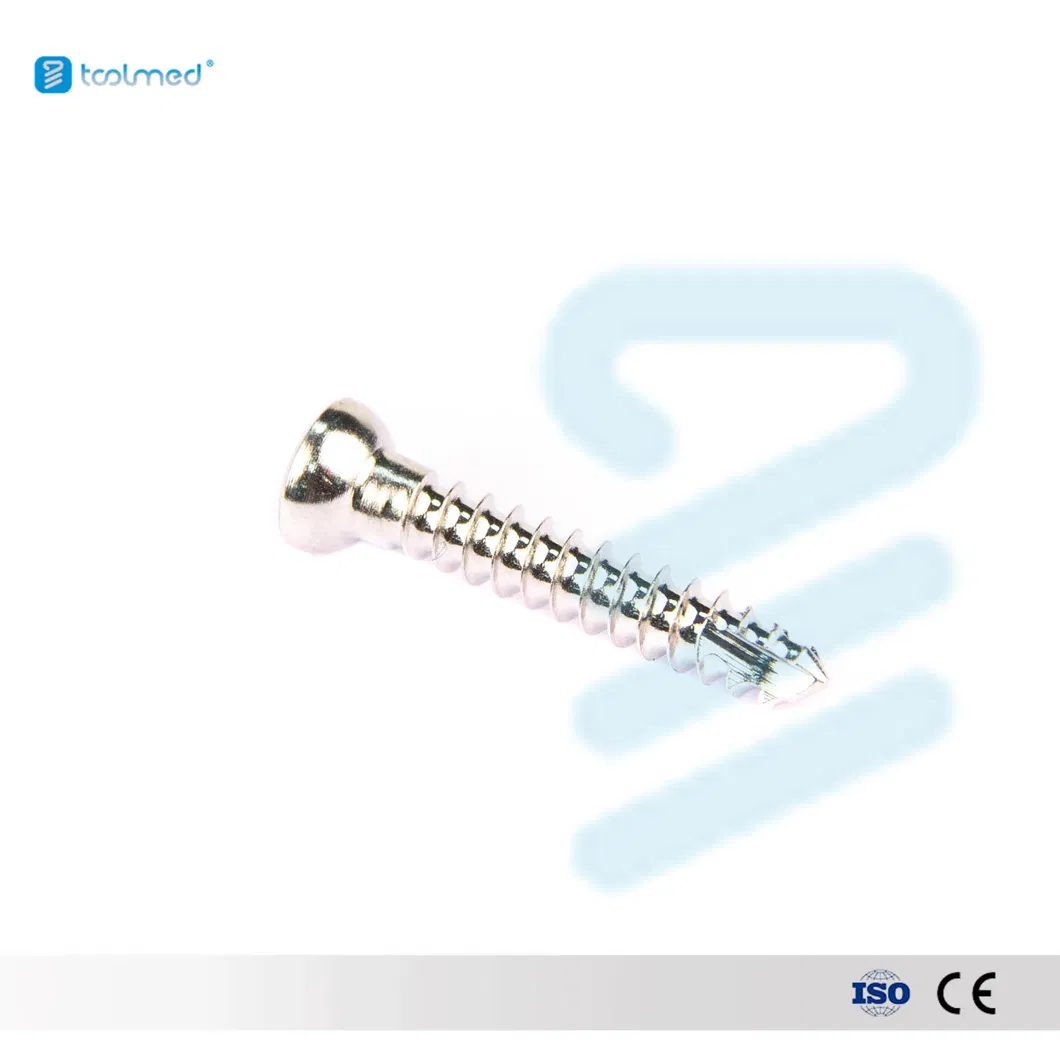
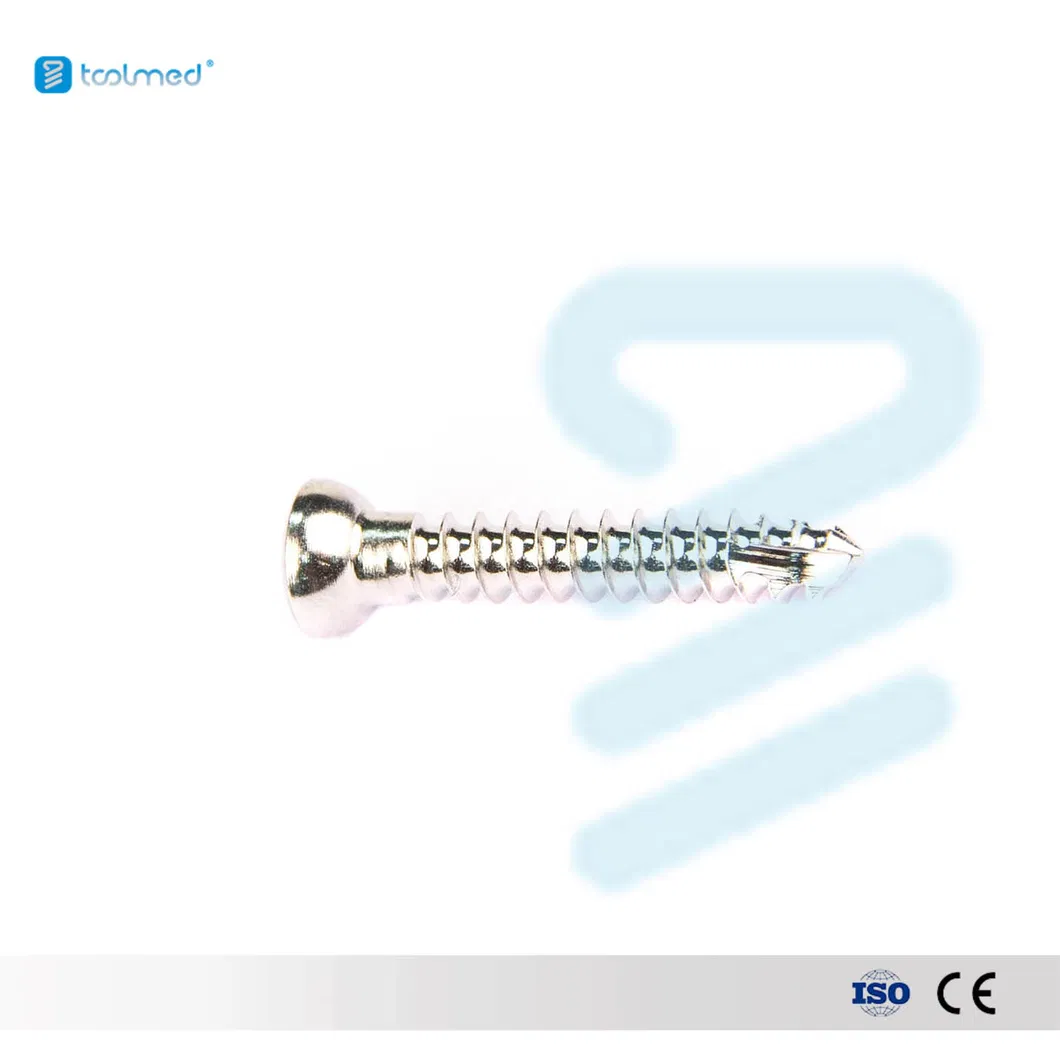
Select appropriate screw sizes (2.0mm, 2.7mm, 3.5mm) and ensure complete instrumentation: drills, taps, depth gauges, and countersinks.
Step 2: Reduction
Anatomically reduce the fracture using bone reduction forceps. Provisional fixation with a K-wire can be utilized.
Step 3: Drilling the Gliding Hole
Drilled in the near cortex using a drill bit equal to the outer diameter of the screw threads.
Step 4: Drilling the Threaded Hole
Use a drill sleeve and a bit equal to the core diameter of the screw to drill the far cortex.
Step 5: Measuring Length
Determine the correct length using a depth gauge hooked on the far cortex.
Step 6: Tapping
Create threads by hand using a tap matching the screw size. Reverse slightly every half turn to clear bone chips.
Step 7: Countersinking
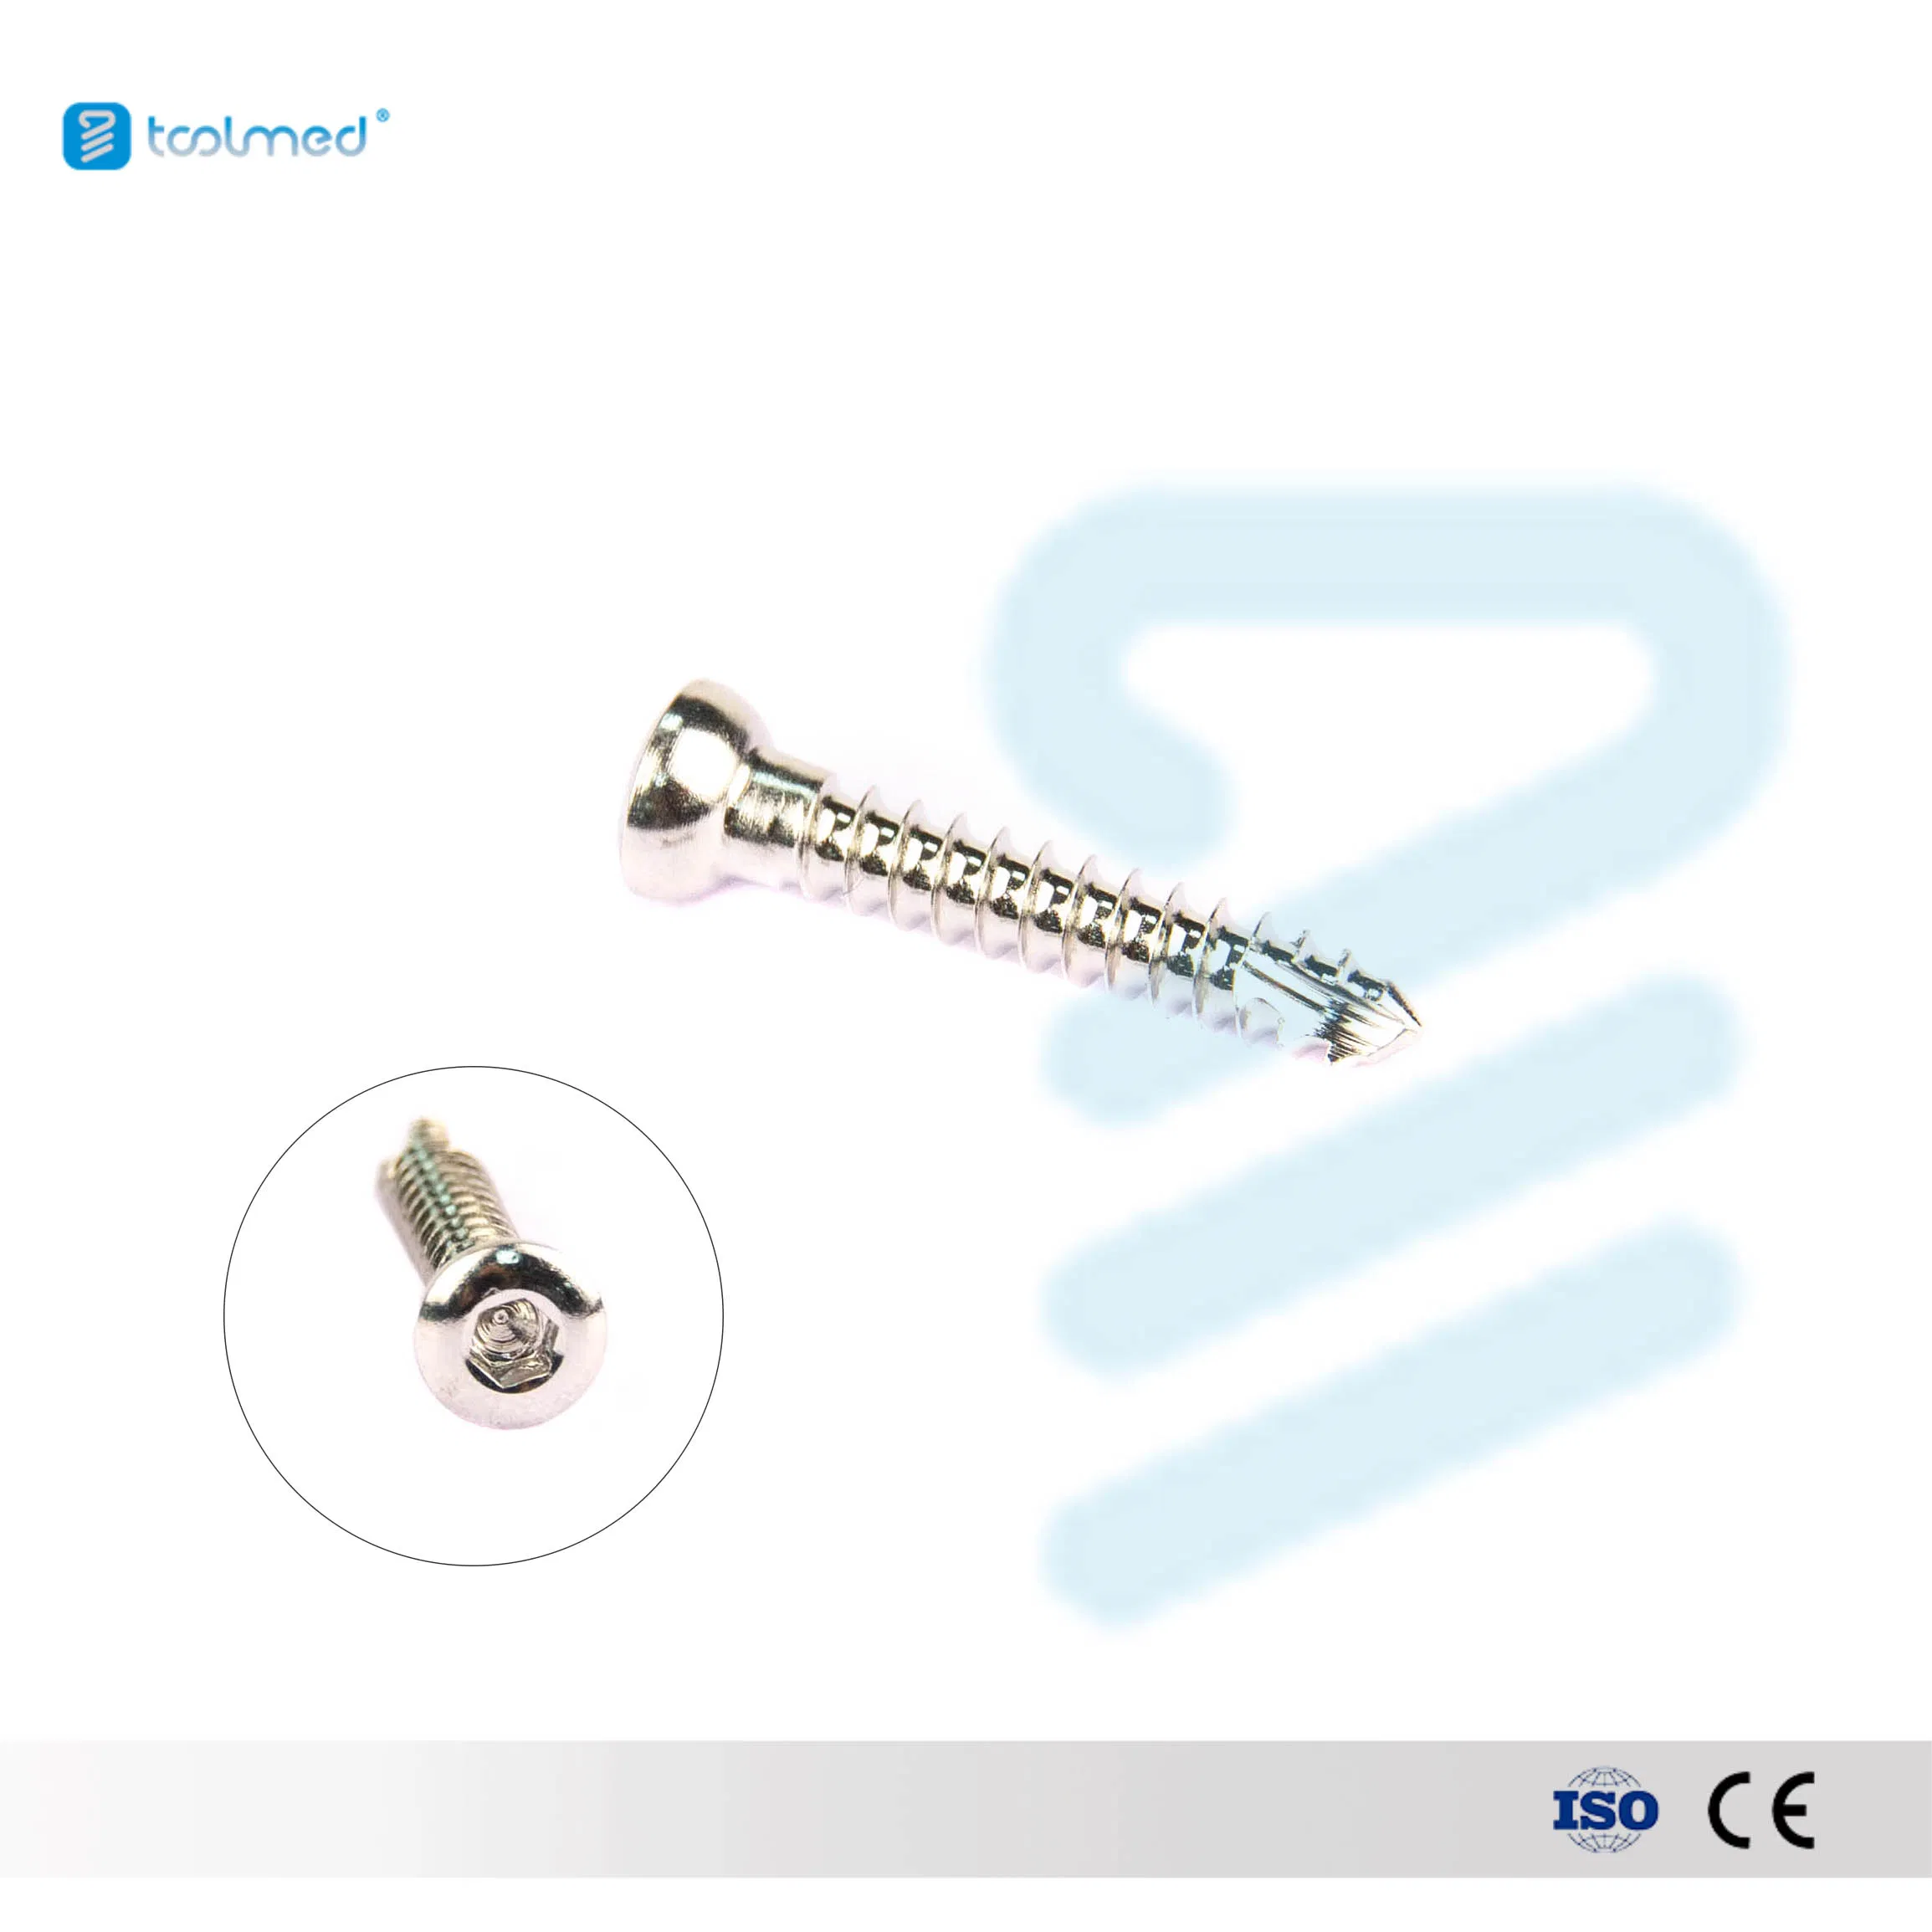
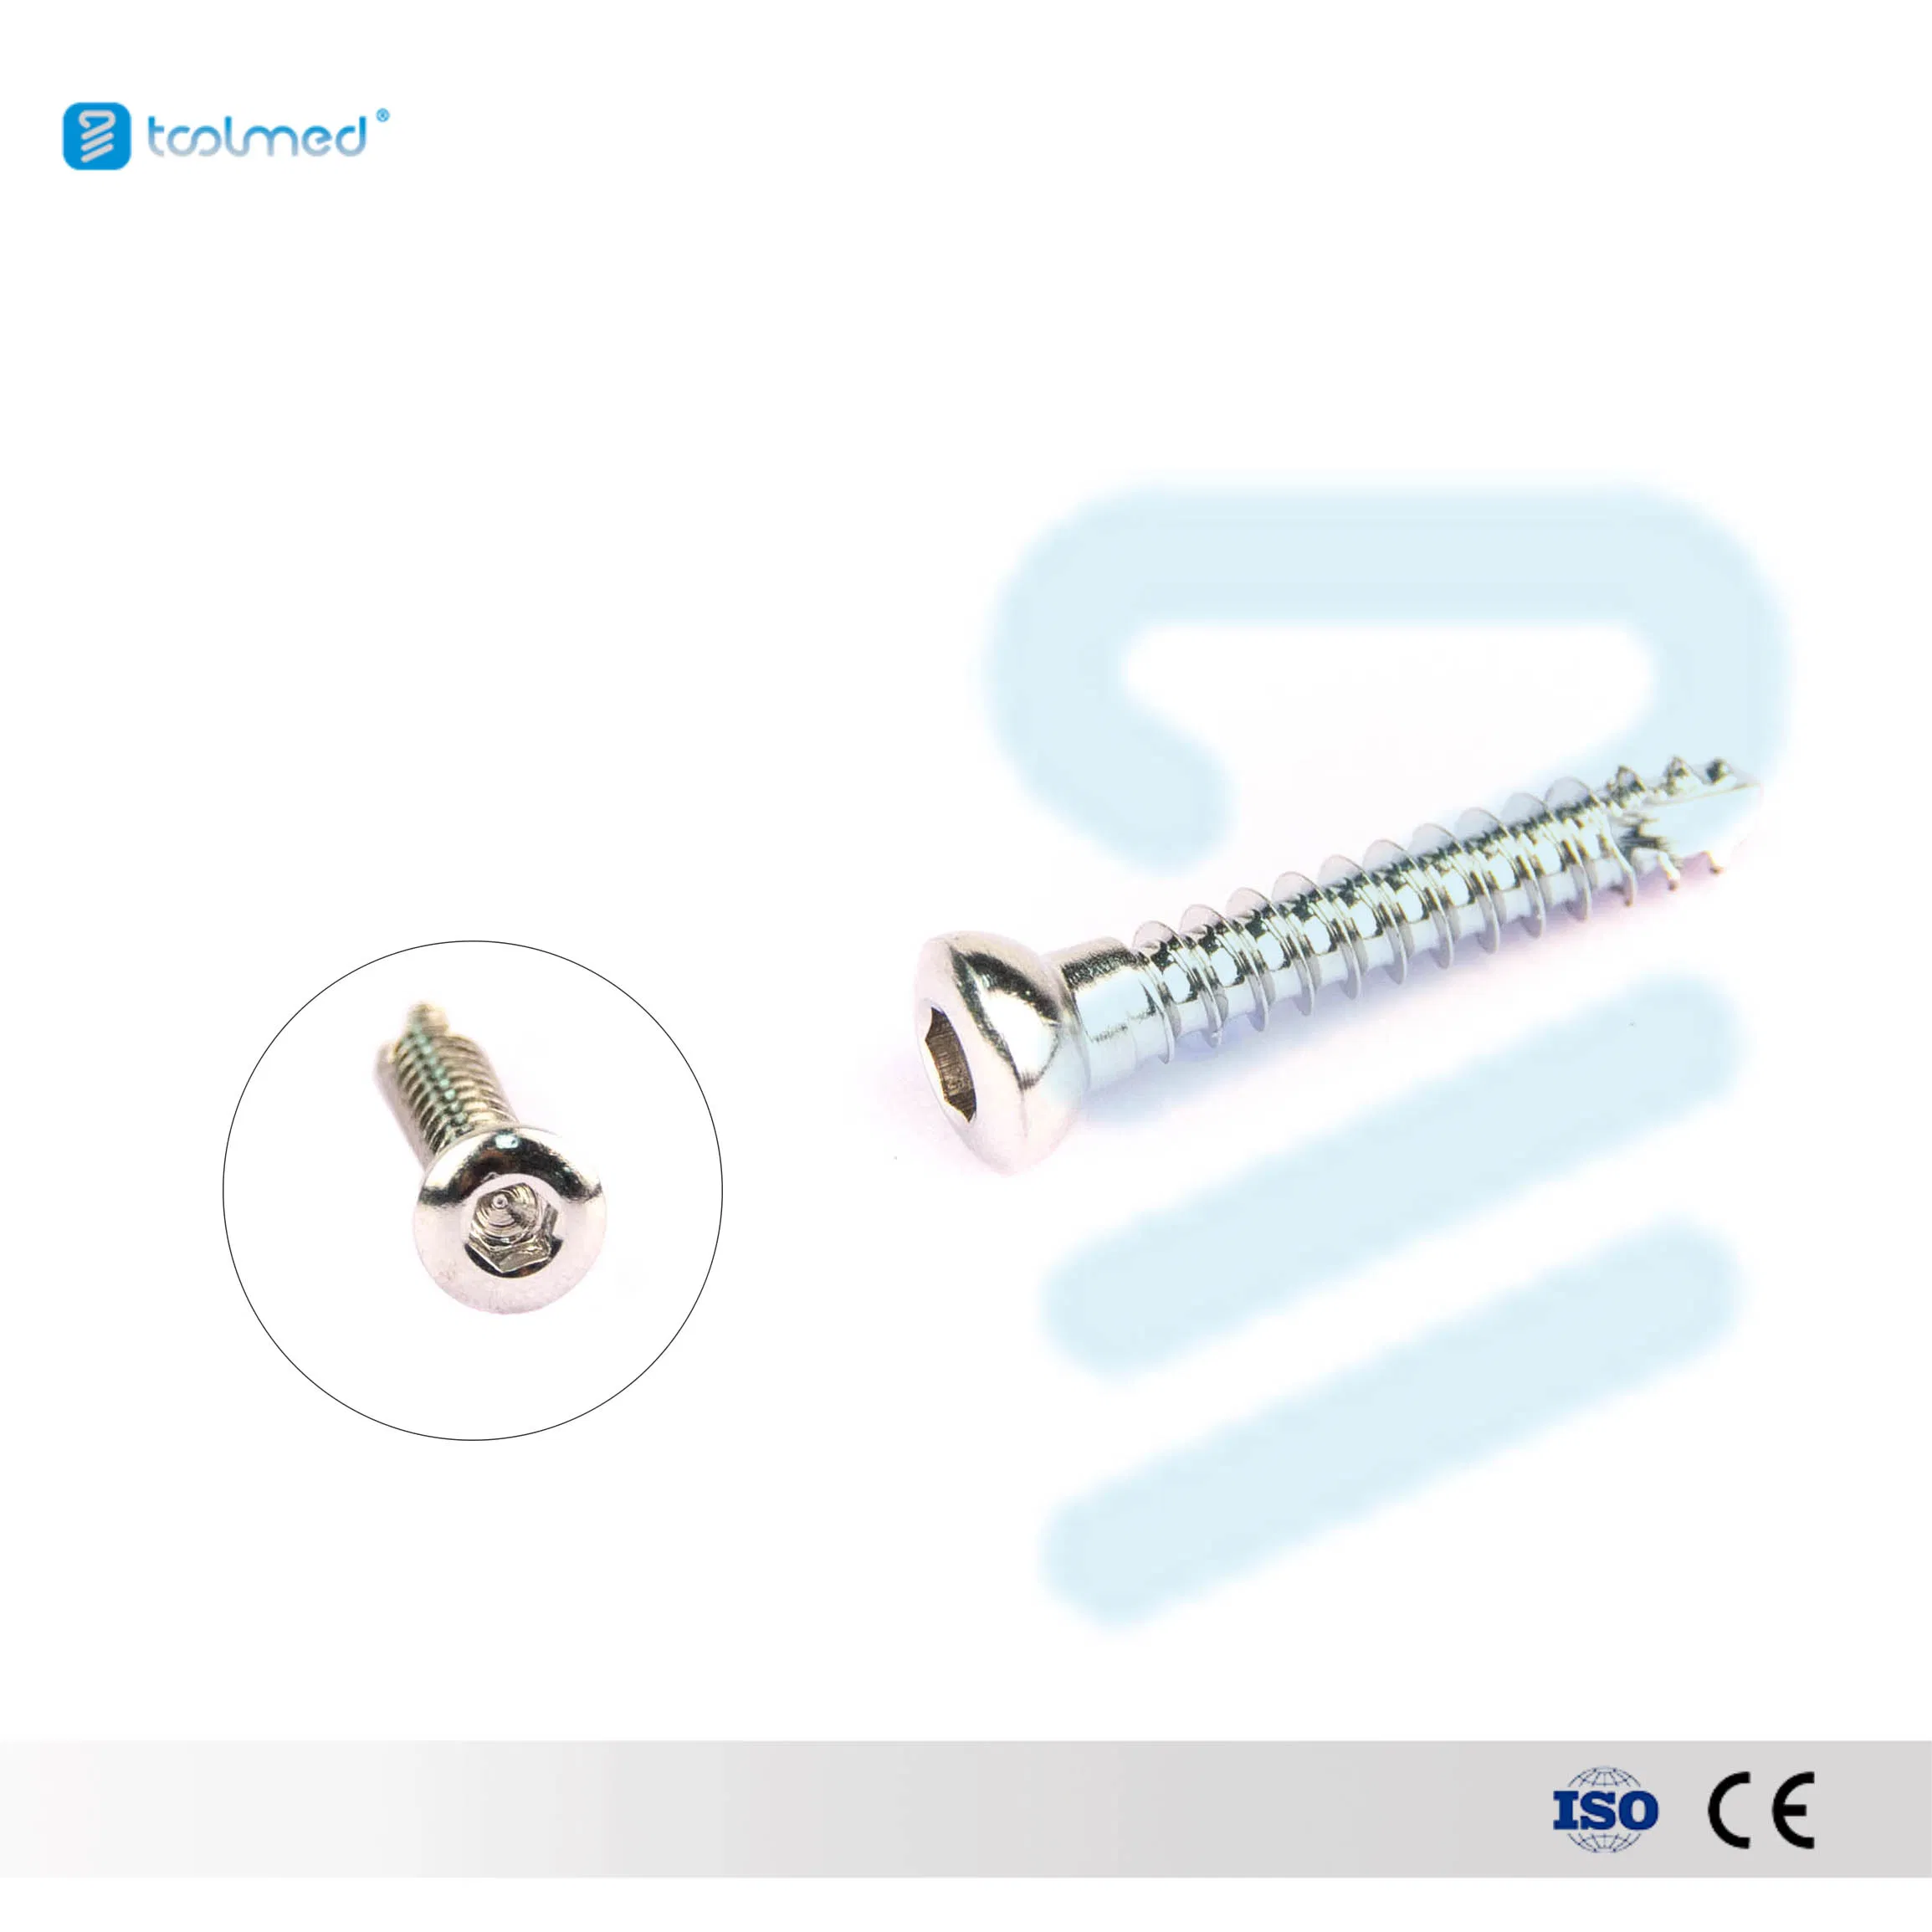
Recommended to allow the screw head to sit flush and reduce stress on the cortex.
Step 8: Insertion & Tightening
Insert the screw until fully seated. Observe visible compression at the fracture line.
Step 9: Final Verification
Confirm reduction and placement via intra-operative radiographs.

| No. | Products | REF | Specification |
|---|---|---|---|
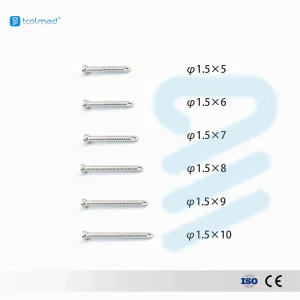
| 1 | 1.5 SS Cortical Screw | 030220150053 | 1.5*5mm |
| 2 | 1.5 SS Cortical Screw | 030220150063 | 1.5*6mm |
| 14 | 2.0mm Self-Tapping Screw | 030228200063 | 2.0*6mm |
| 20 | 2.0mm Self-Tapping Screw | 030228200143 | 2.0*14mm |
| 29 | 2.4mm Self-Tapping Screw | 030220240083 | 2.4*8mm |
| 42 | 2.7mm Self-Tapping Screw | 030226270083 | 2.7*8mm |
| 59 | 3.5mm Self-Tapping Screw | 030220350103 | 3.5*10mm |
| 80 | 3.5mm Self-Tapping Screw | 030220350503 | 3.5*50mm |