1 / 5
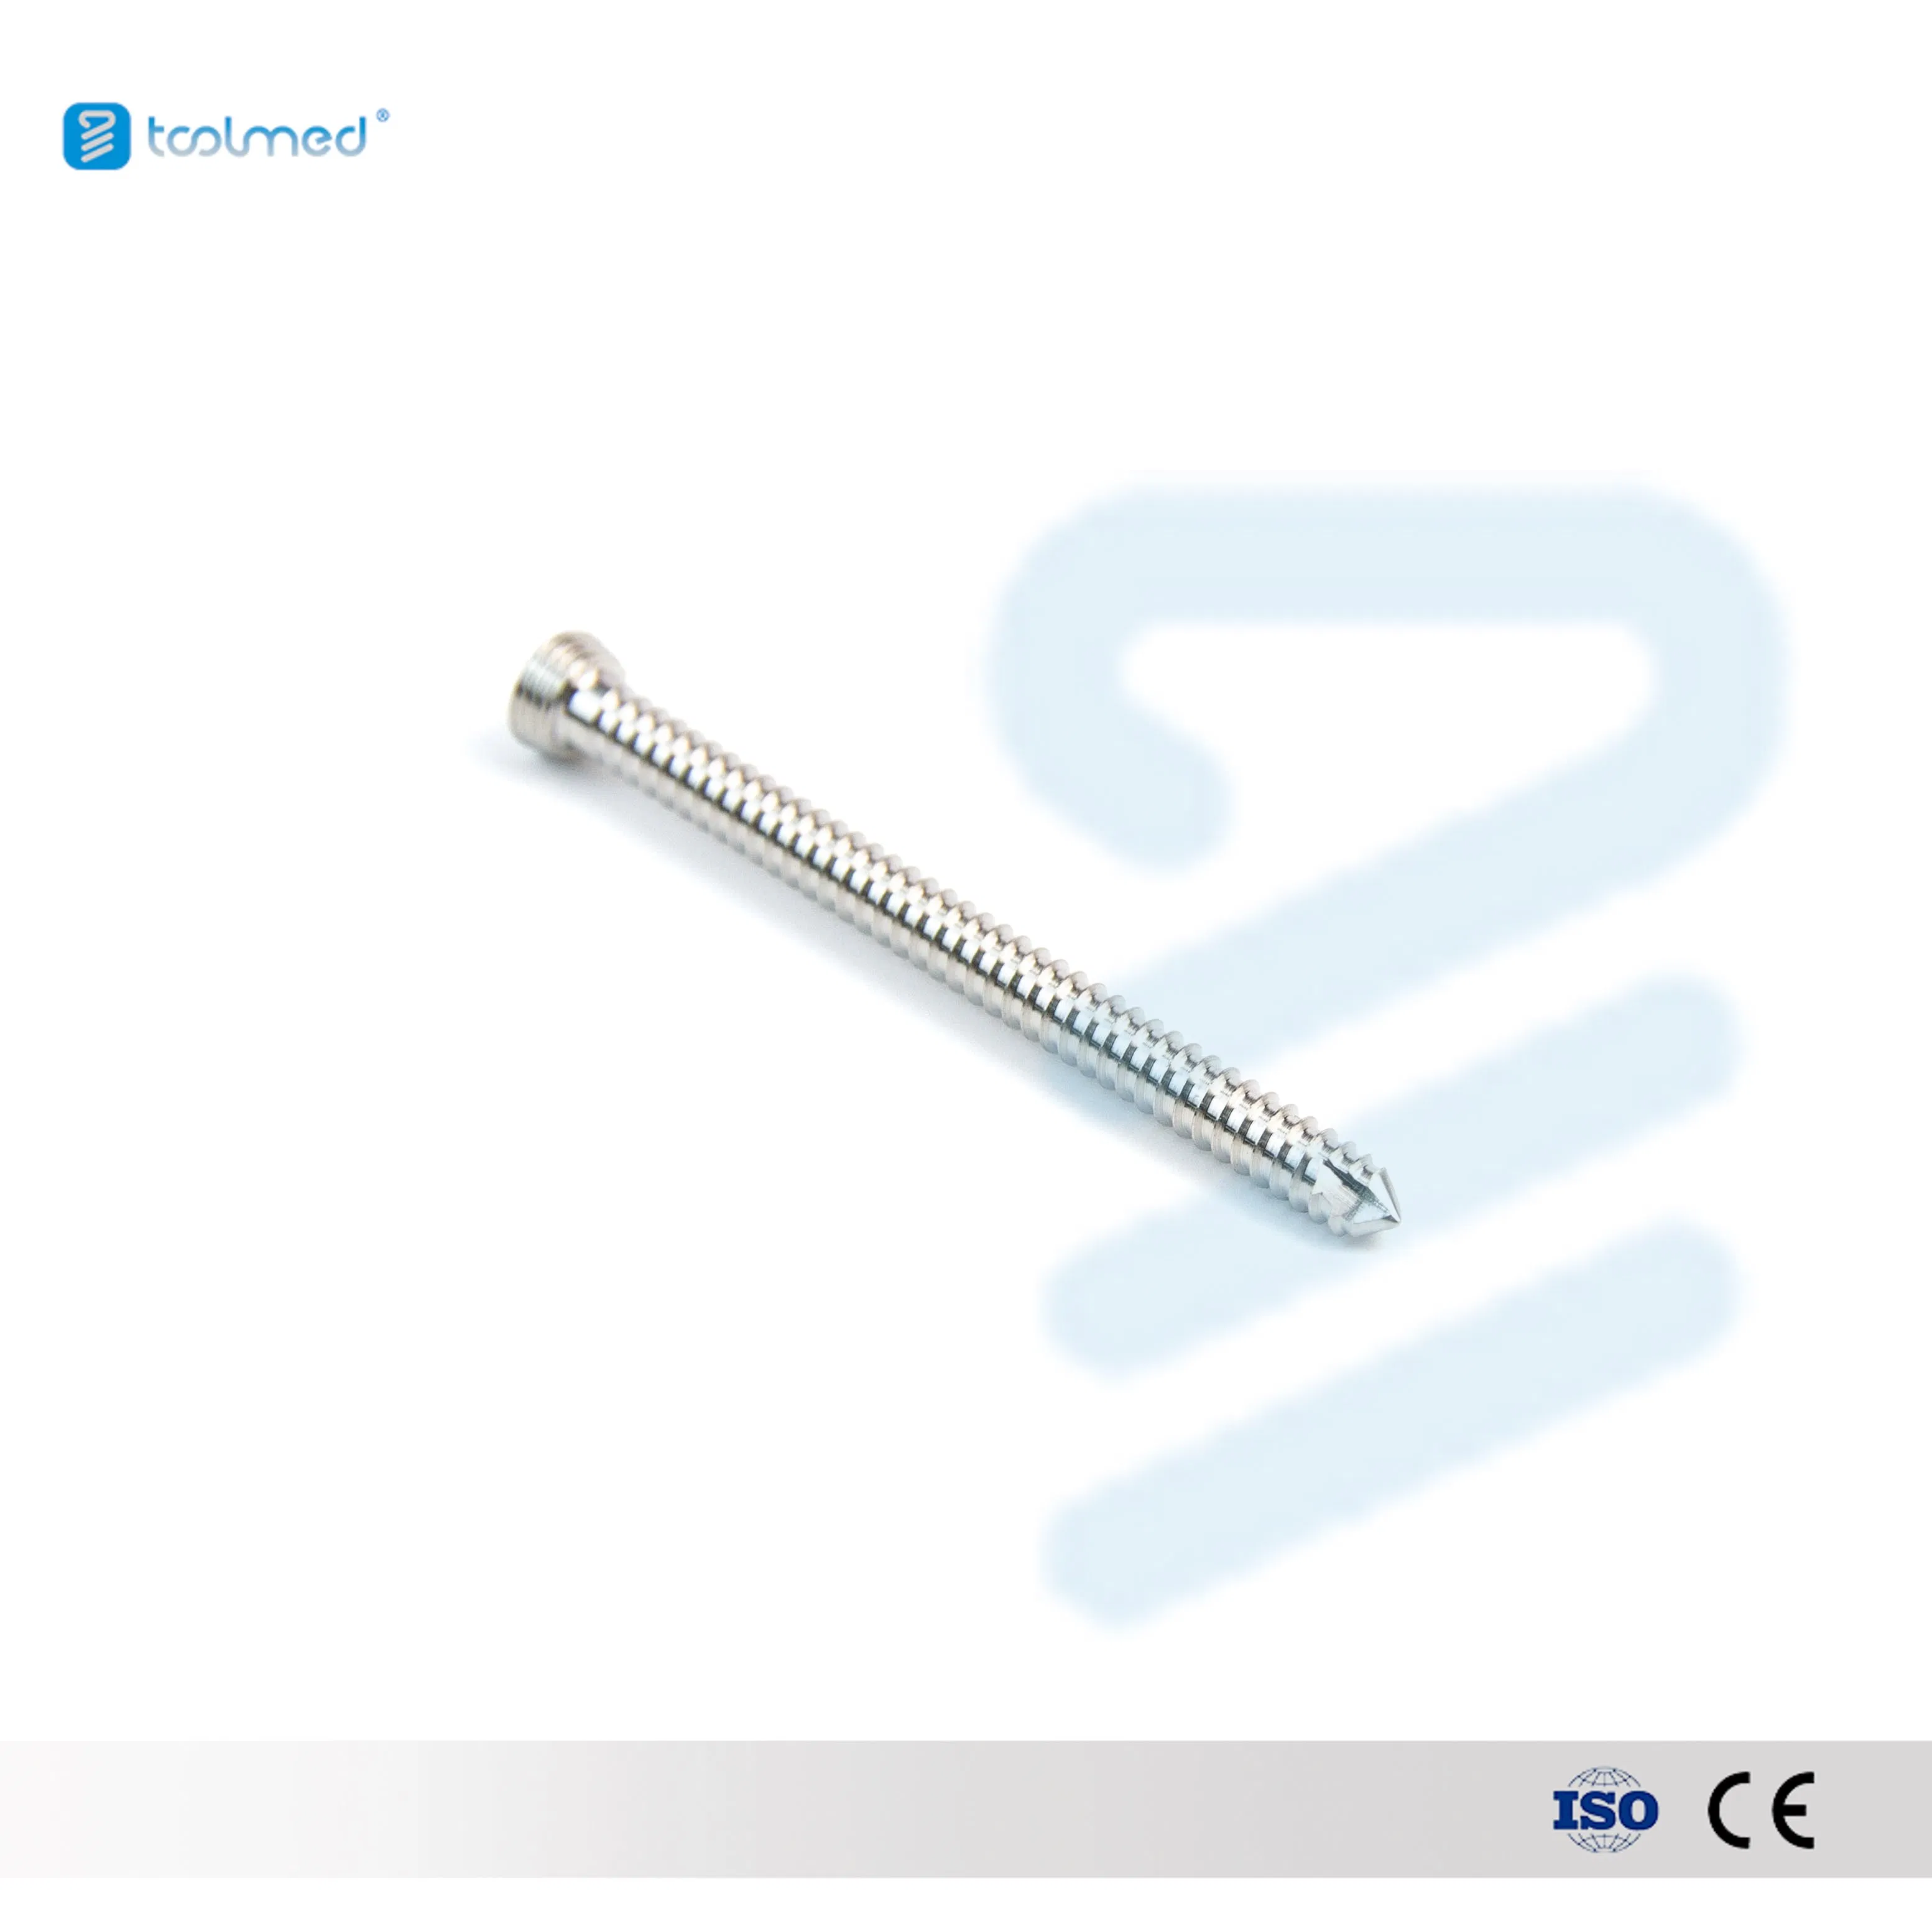
The surgical technique for placing a locking screw in veterinary orthopedic surgery involves several key steps to ensure proper fixation and stability. Locking screws are commonly used in conjunction with locking plates to create a stable construct for fracture repair.
Imaging: Obtain radiographs (X-rays) or CT scans to assess the fracture.
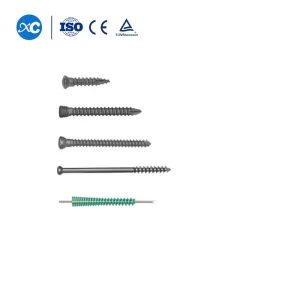
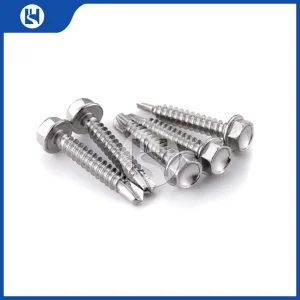
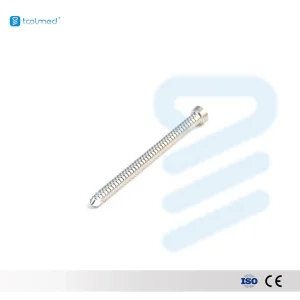
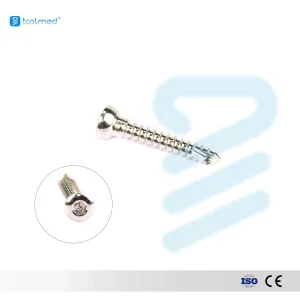
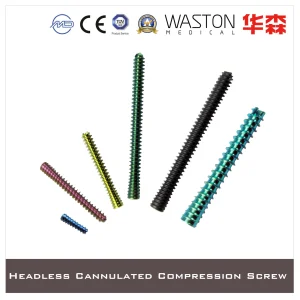
Equipment: Ensure appropriate locking plates, locking screws, and specific instruments.
Screw Selection: Choose correct length and diameter based on bone size.
Incision: Expose the bone and fracture fragments.
Reduction: Align fragments anatomically using reduction forceps.
Temporary Fixation: Use K-wires or cerclage wires if necessary.
Selection: Choose a locking plate of appropriate length.
Placement: Position the plate over the bone spanning the fracture site.
Drill Guide: Insert guide into the locking hole for proper alignment.
Drilling: Drill a pilot hole using the system-specific drill bit.
Measurement: Use a depth gauge to determine required screw length.
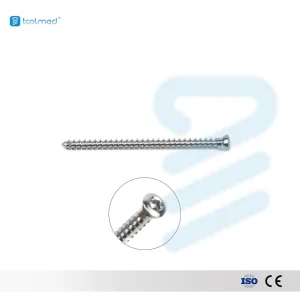
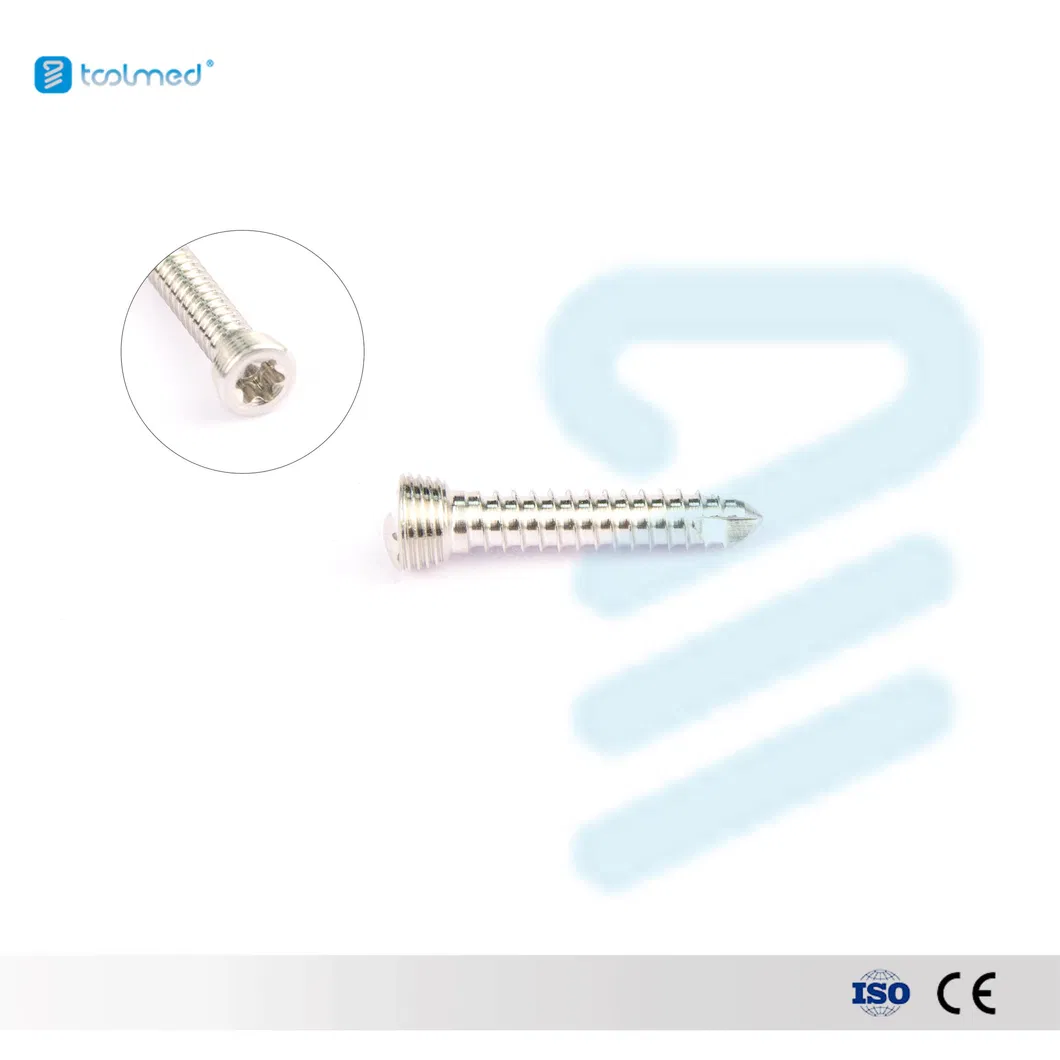
Insertion: Tighten the screw until fully seated and locked into the plate.
Final Assessment: Confirm stability and take intraoperative radiographs.
Closure: Close the surgical site in layers (fascia, subcutaneous tissue, and skin).

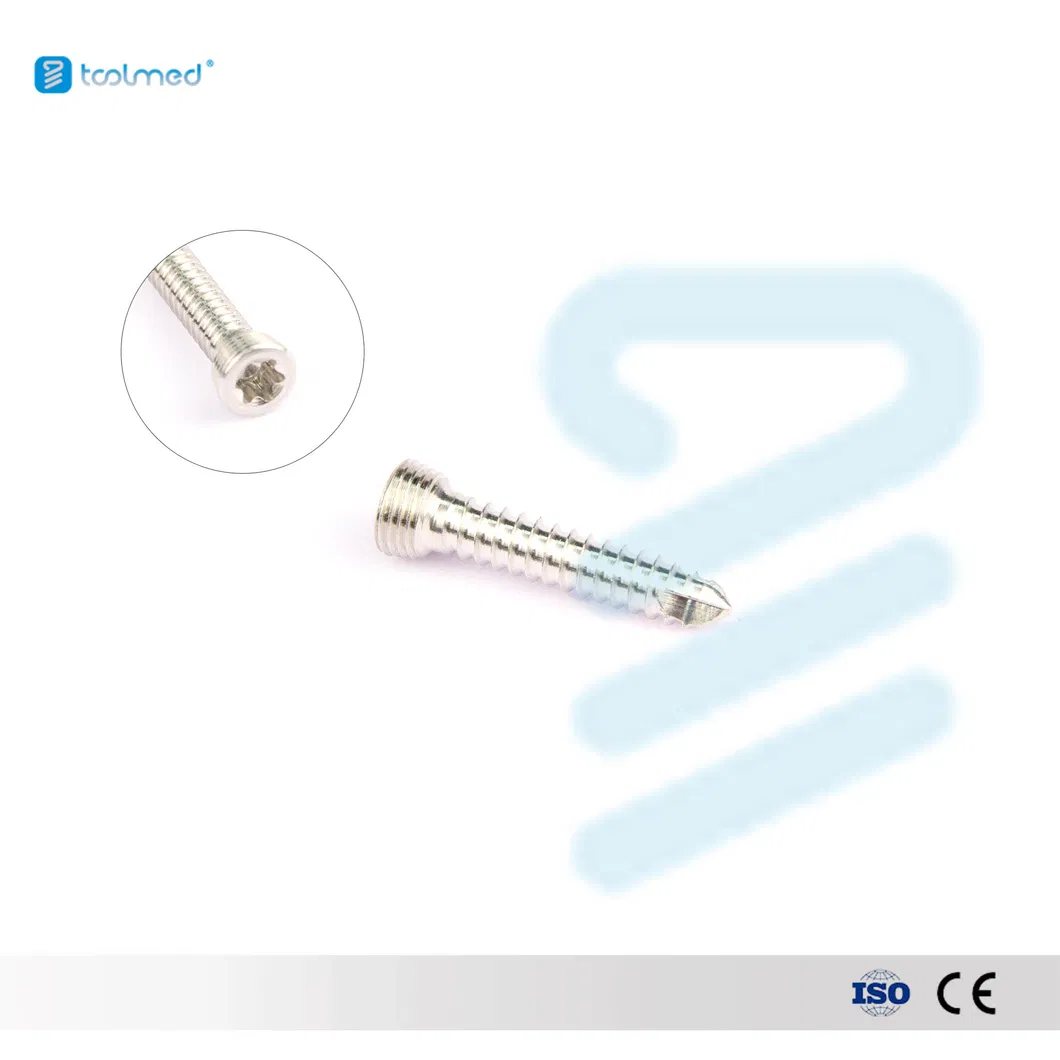
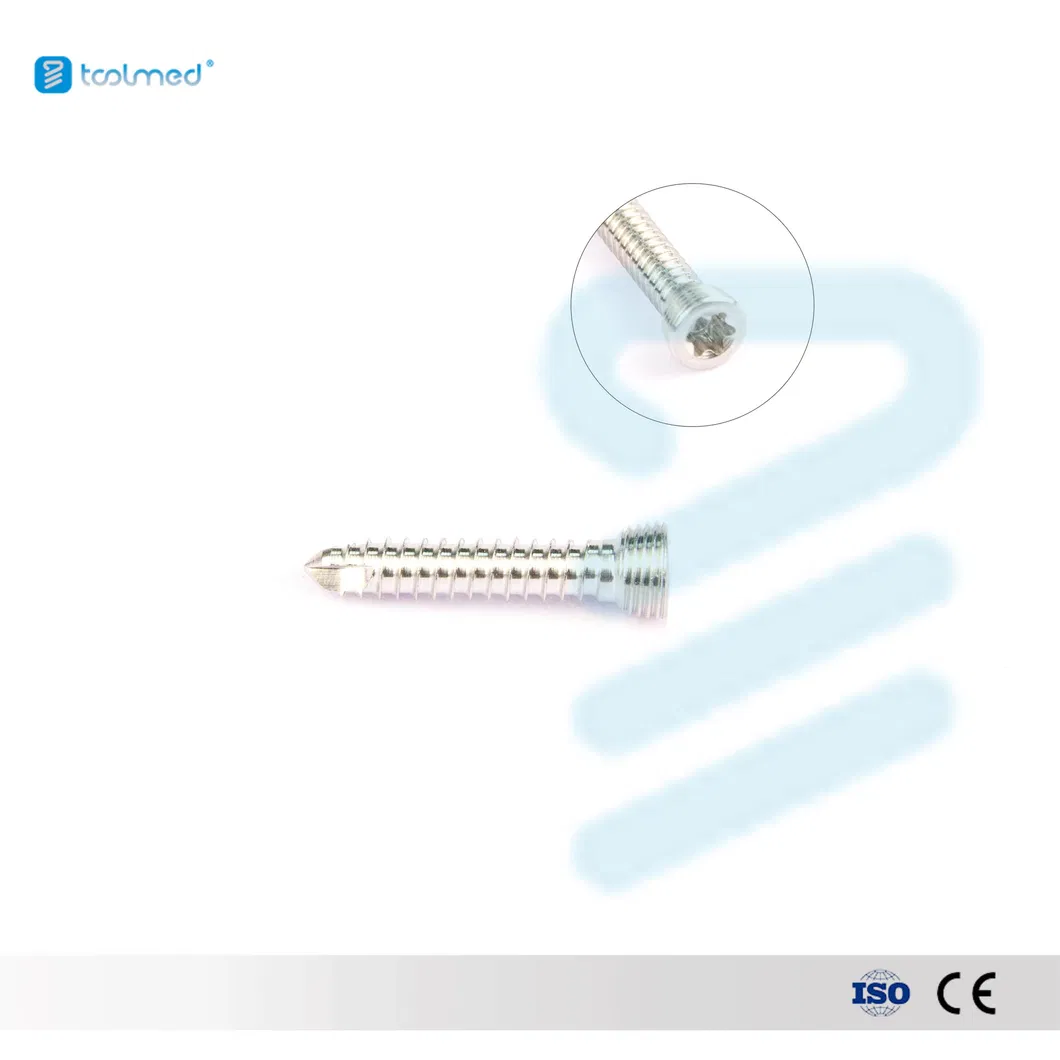
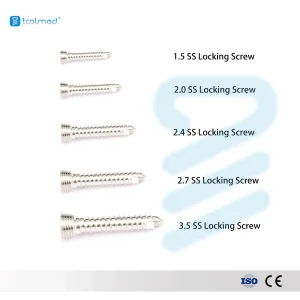
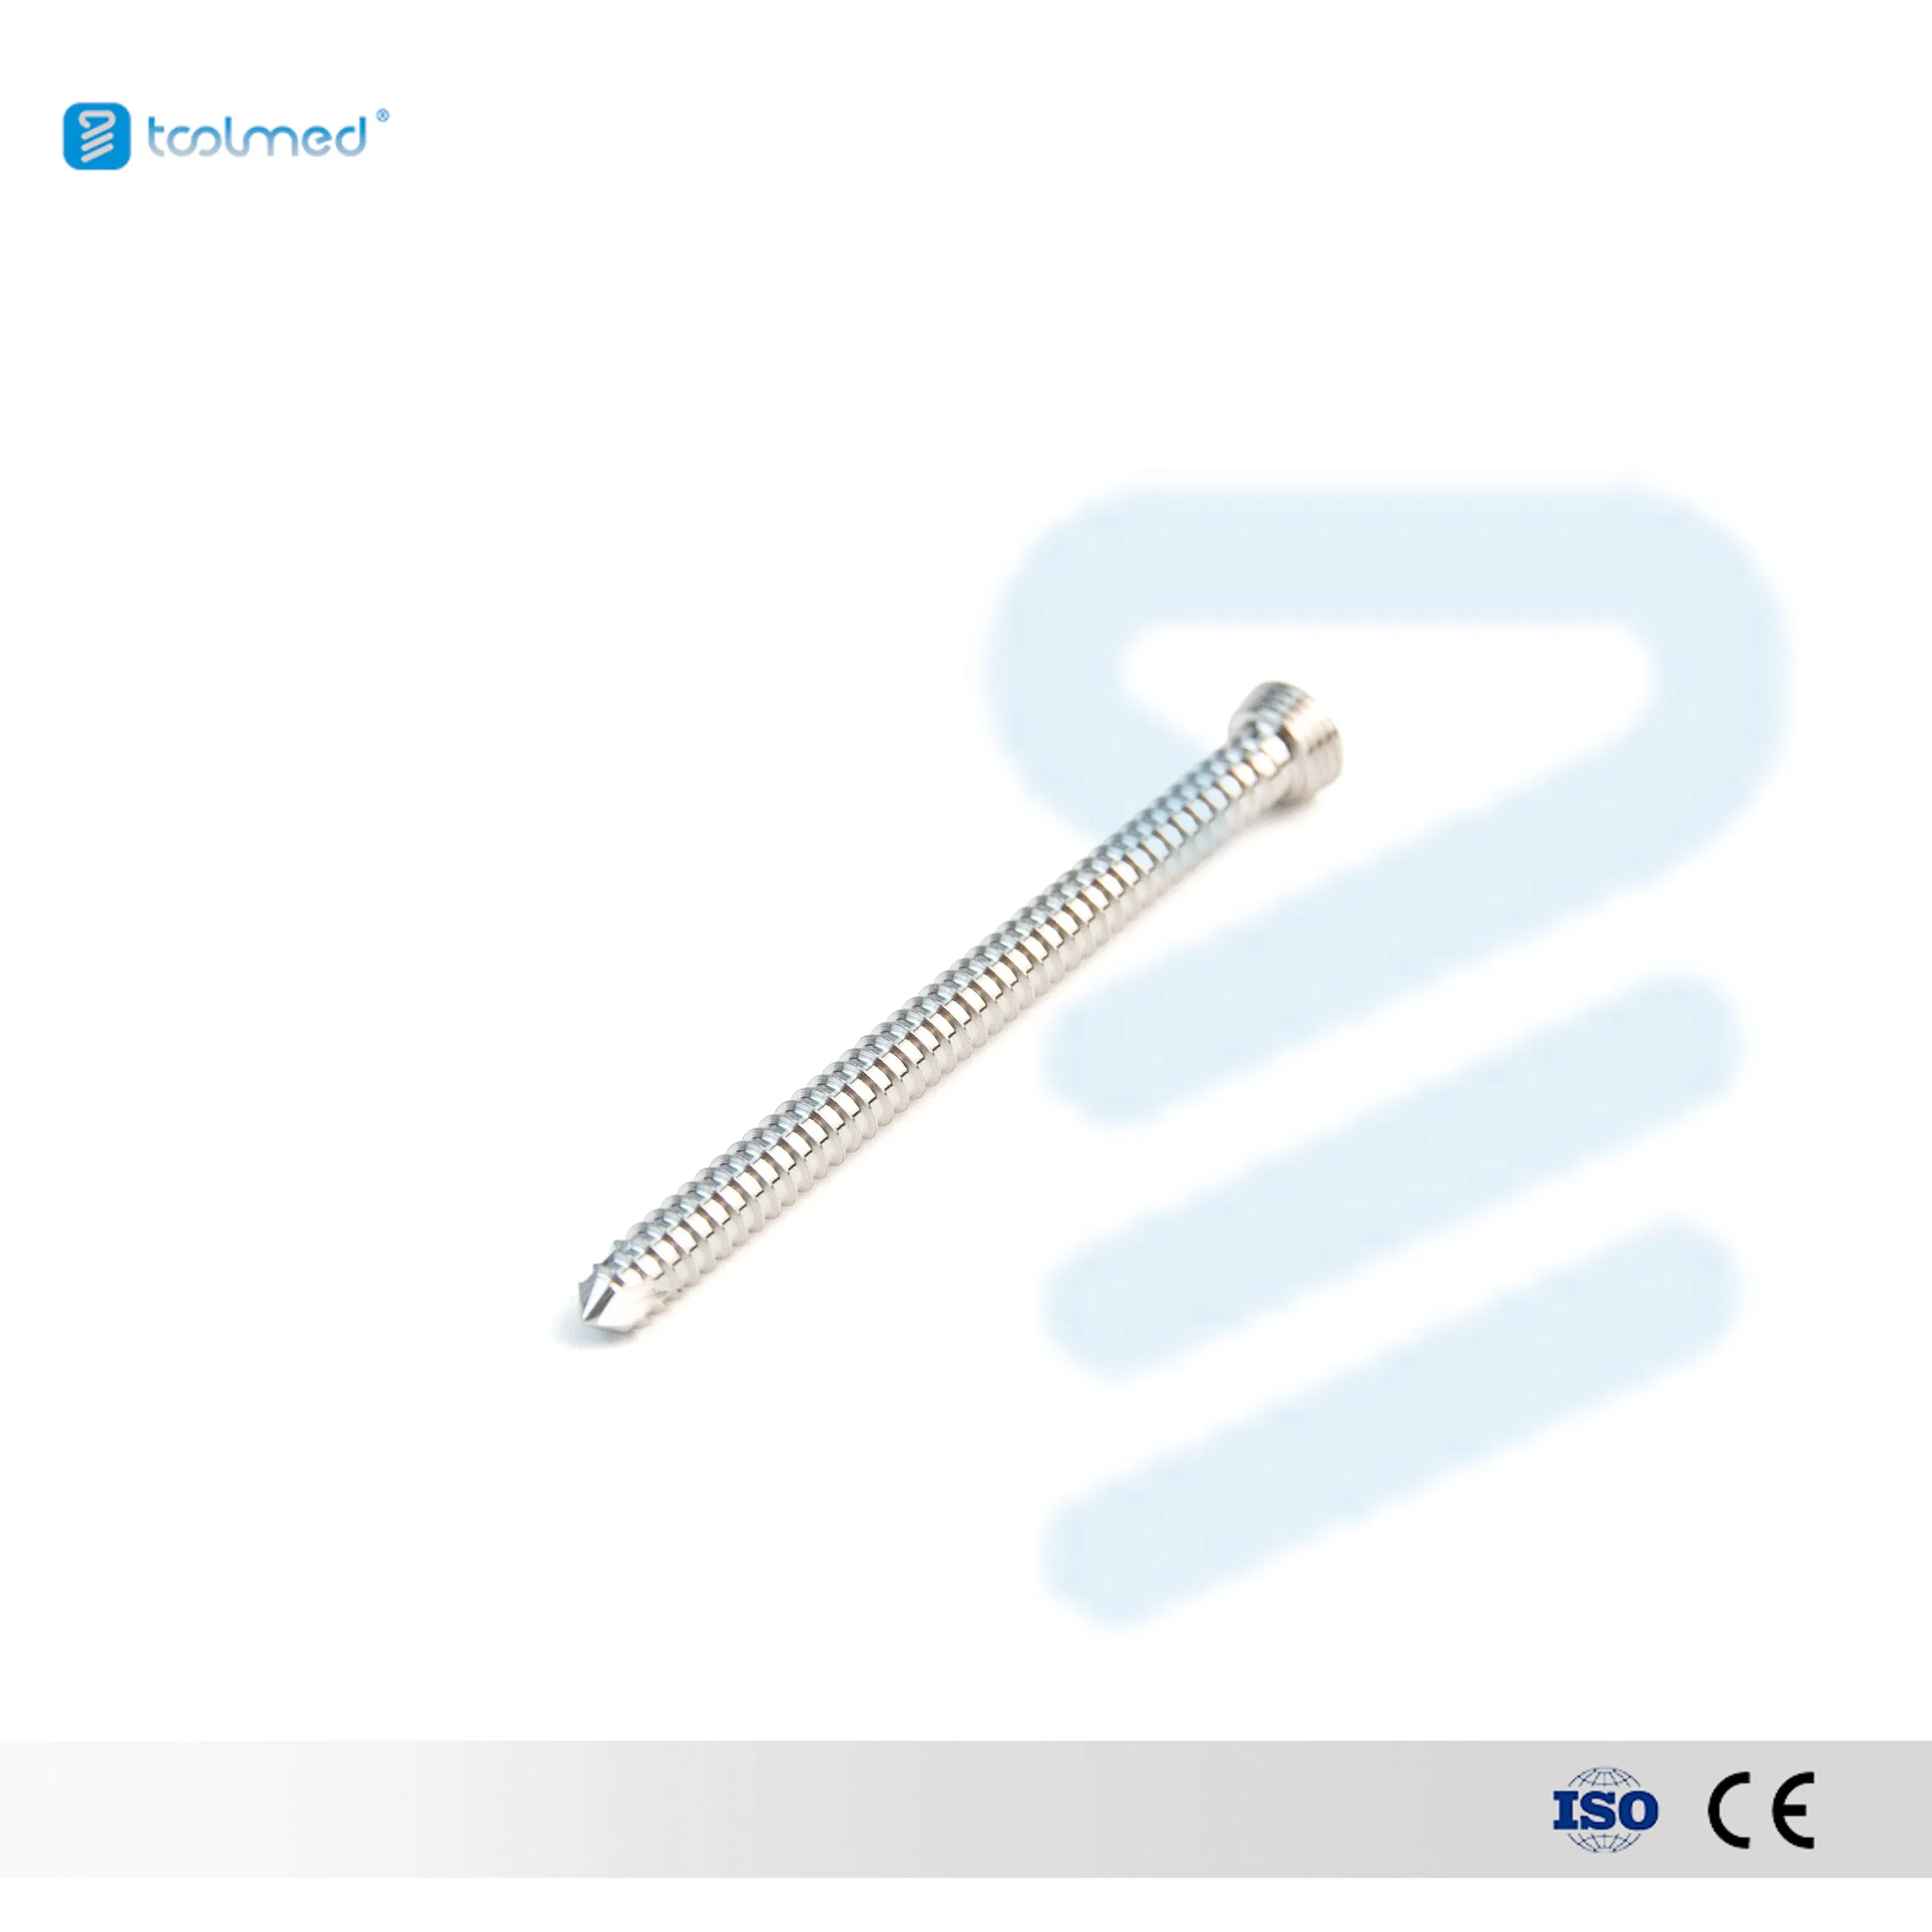
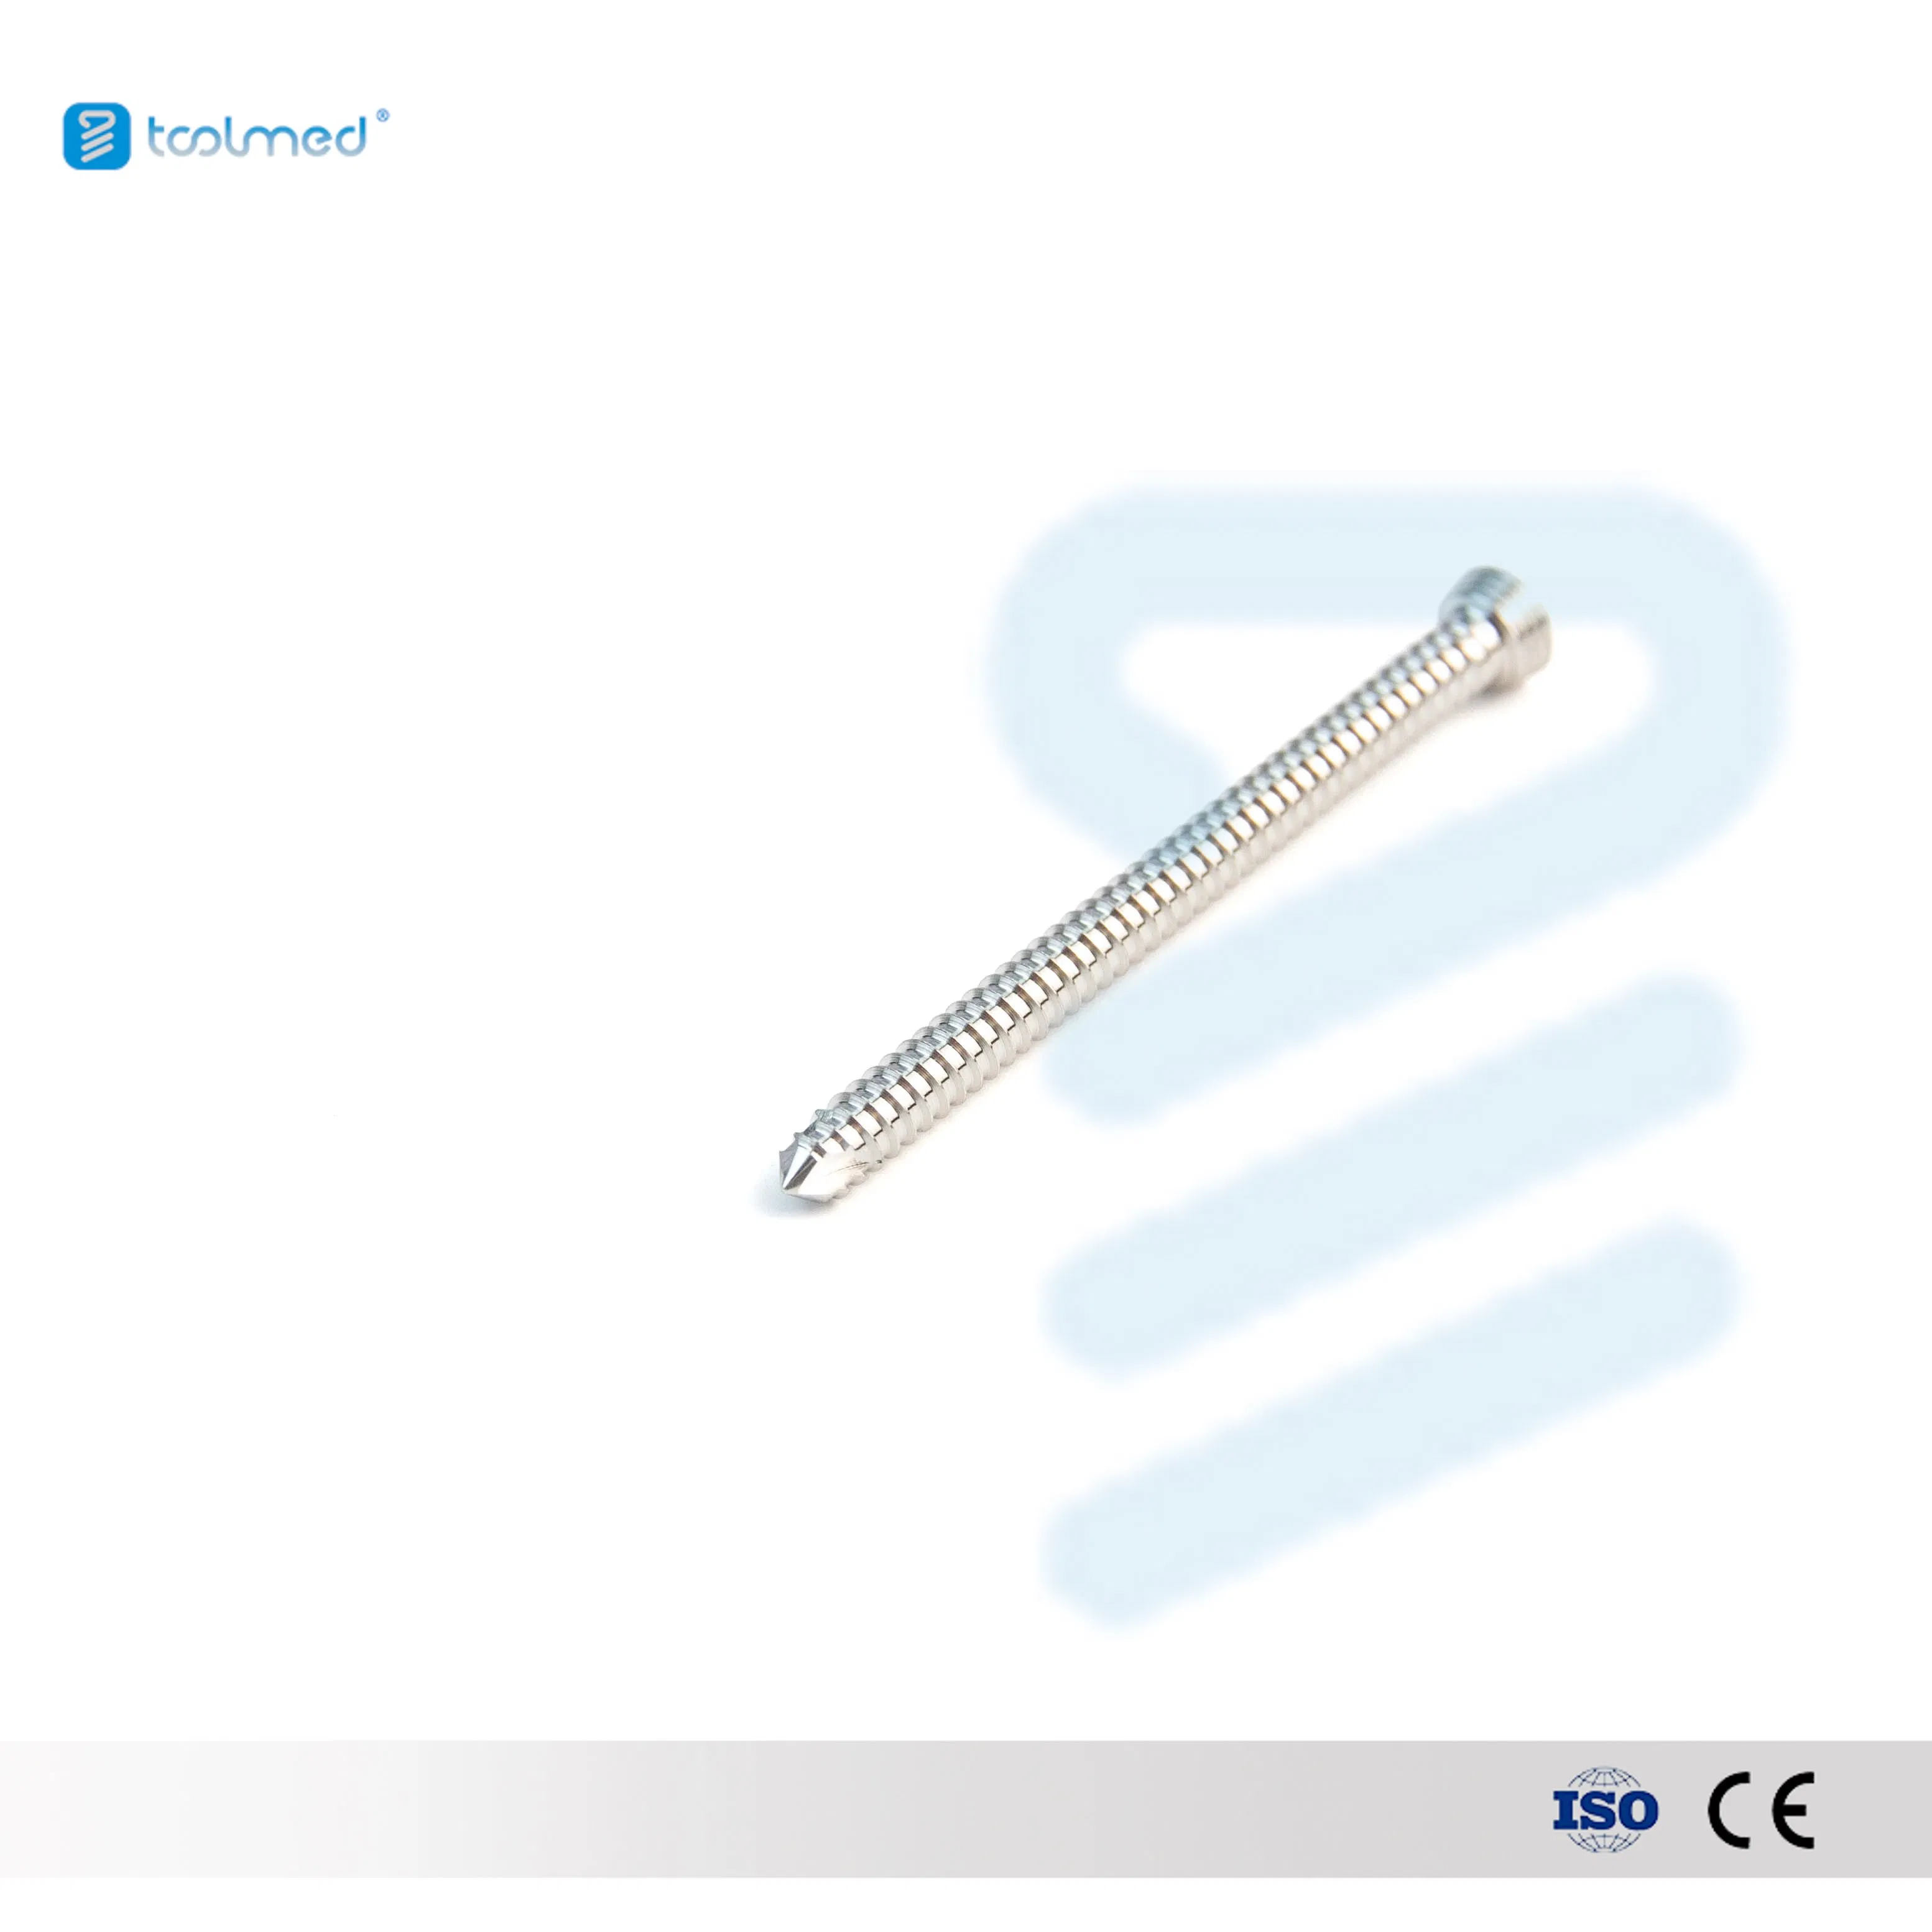
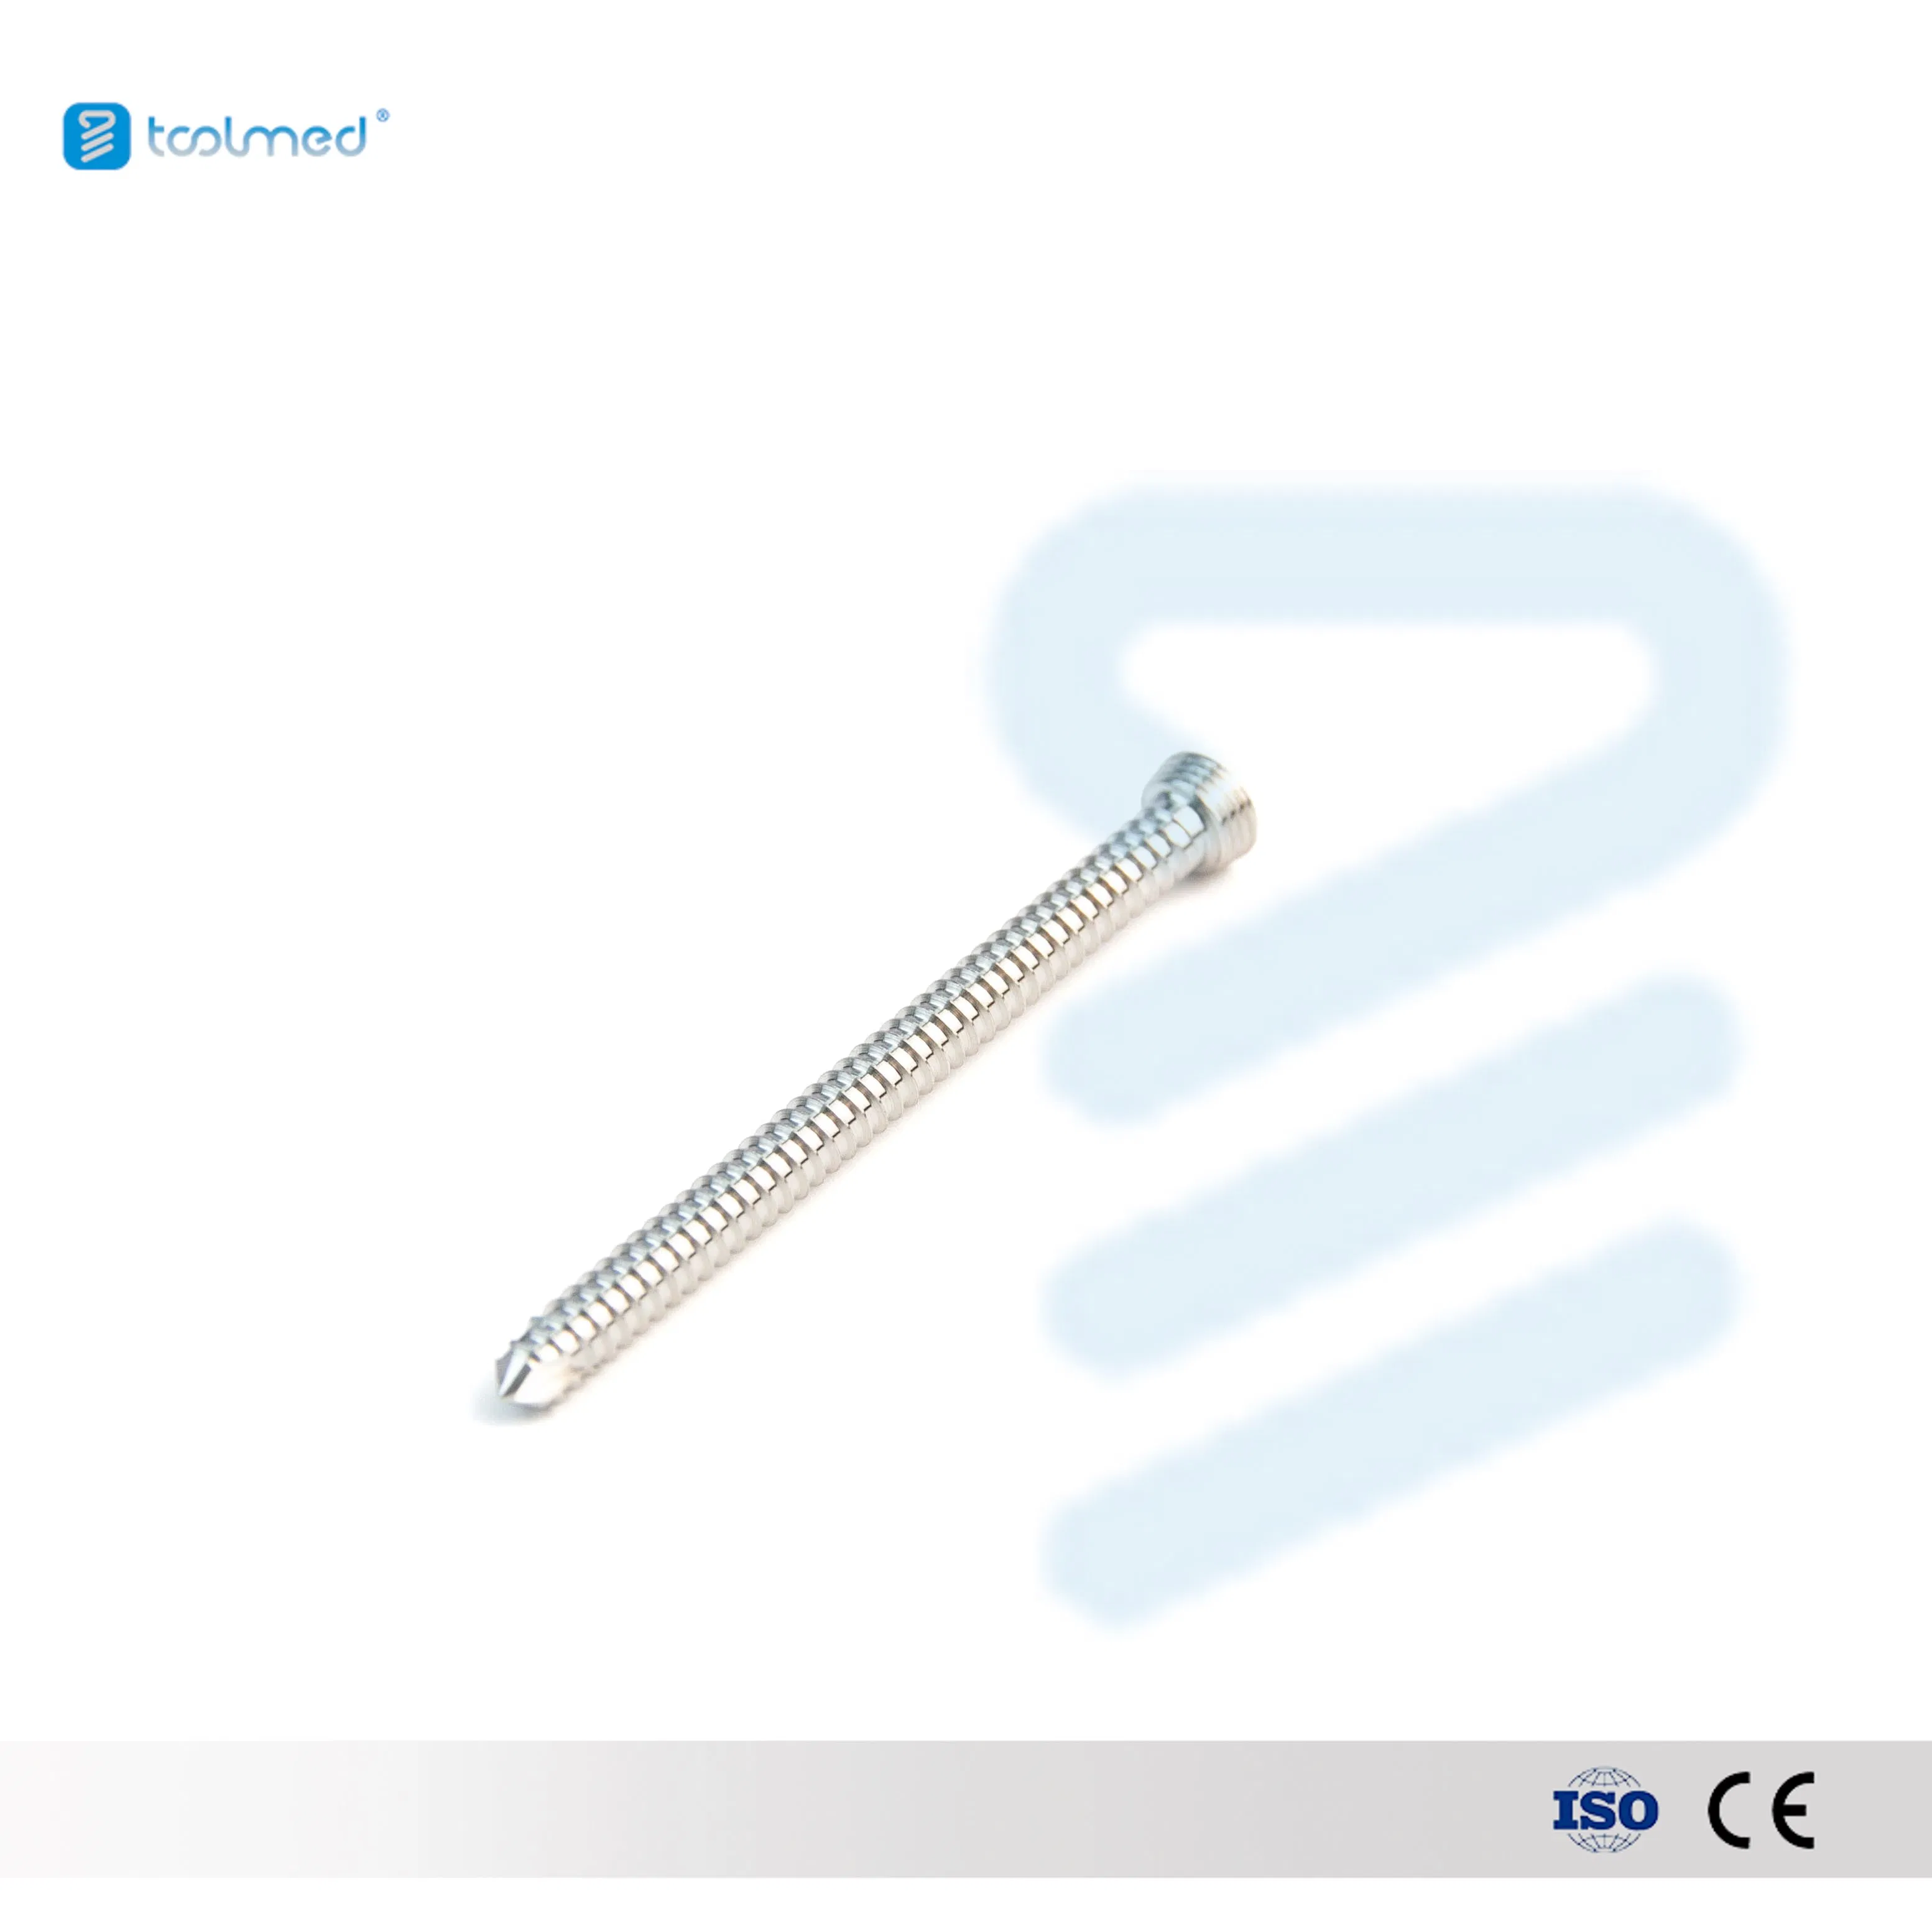
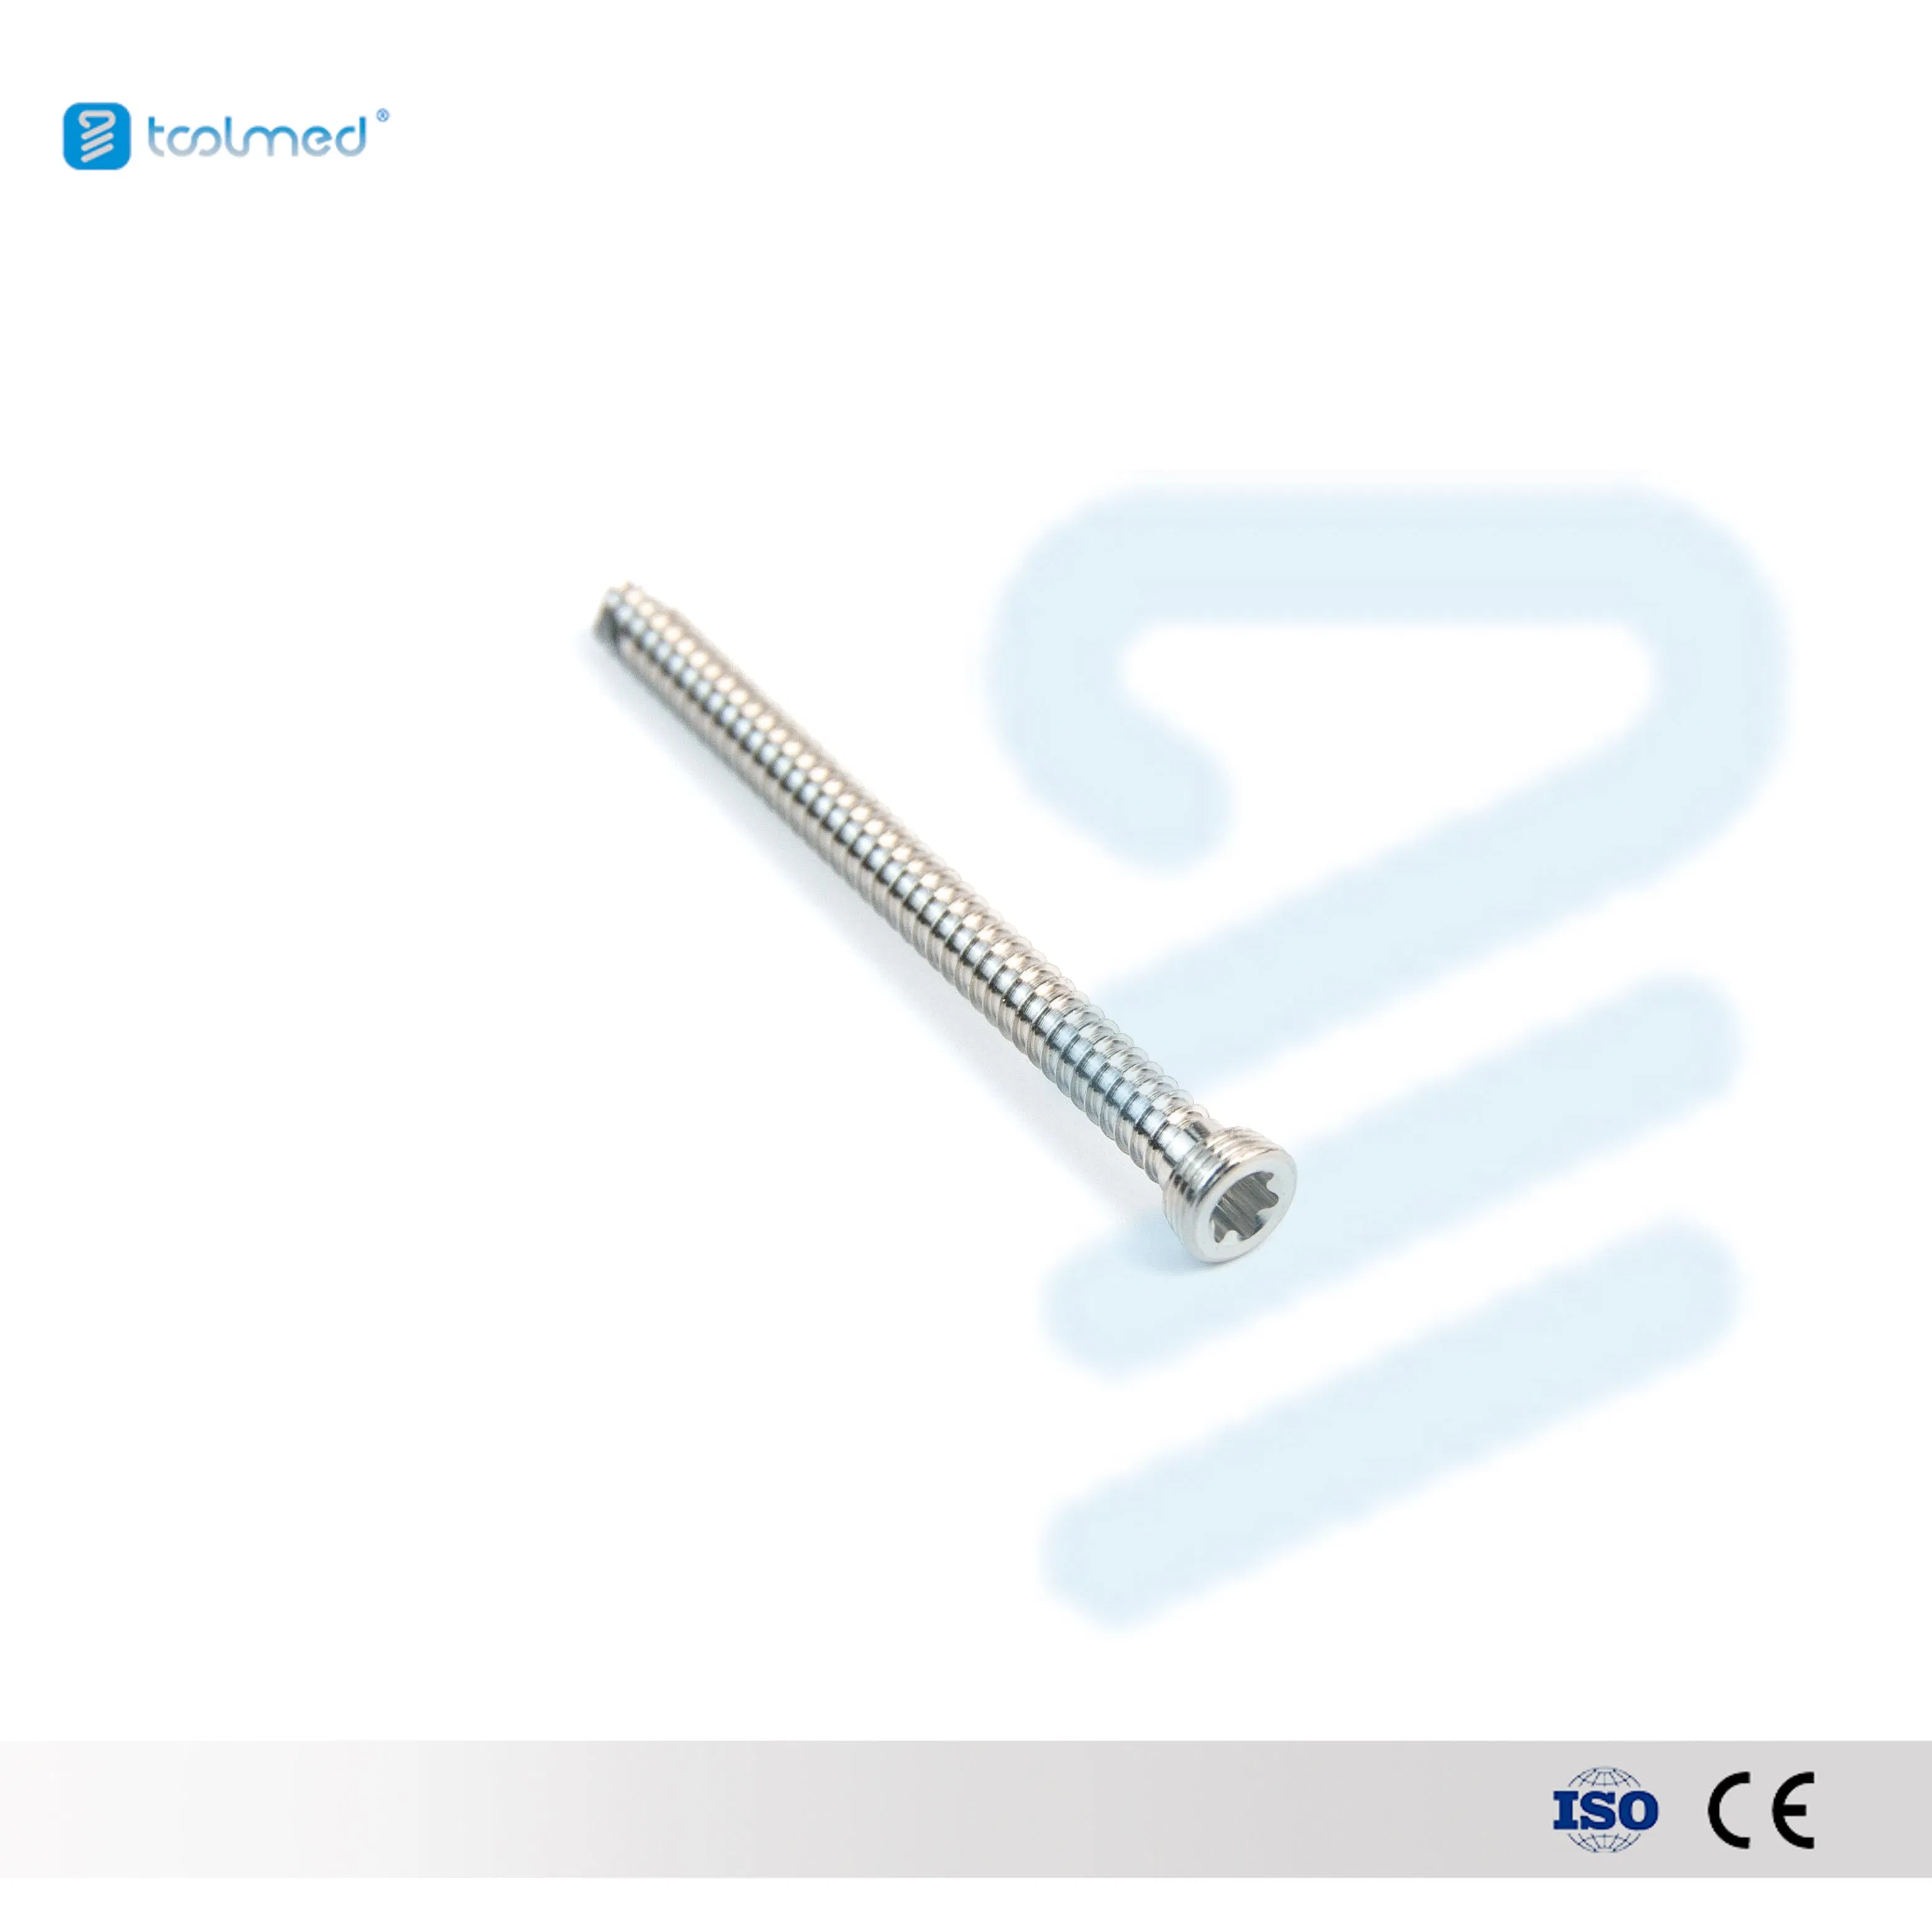
| No. | Product Description | REF Number | Specification |
|---|---|---|---|
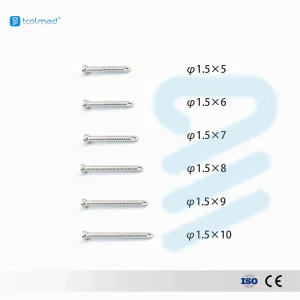
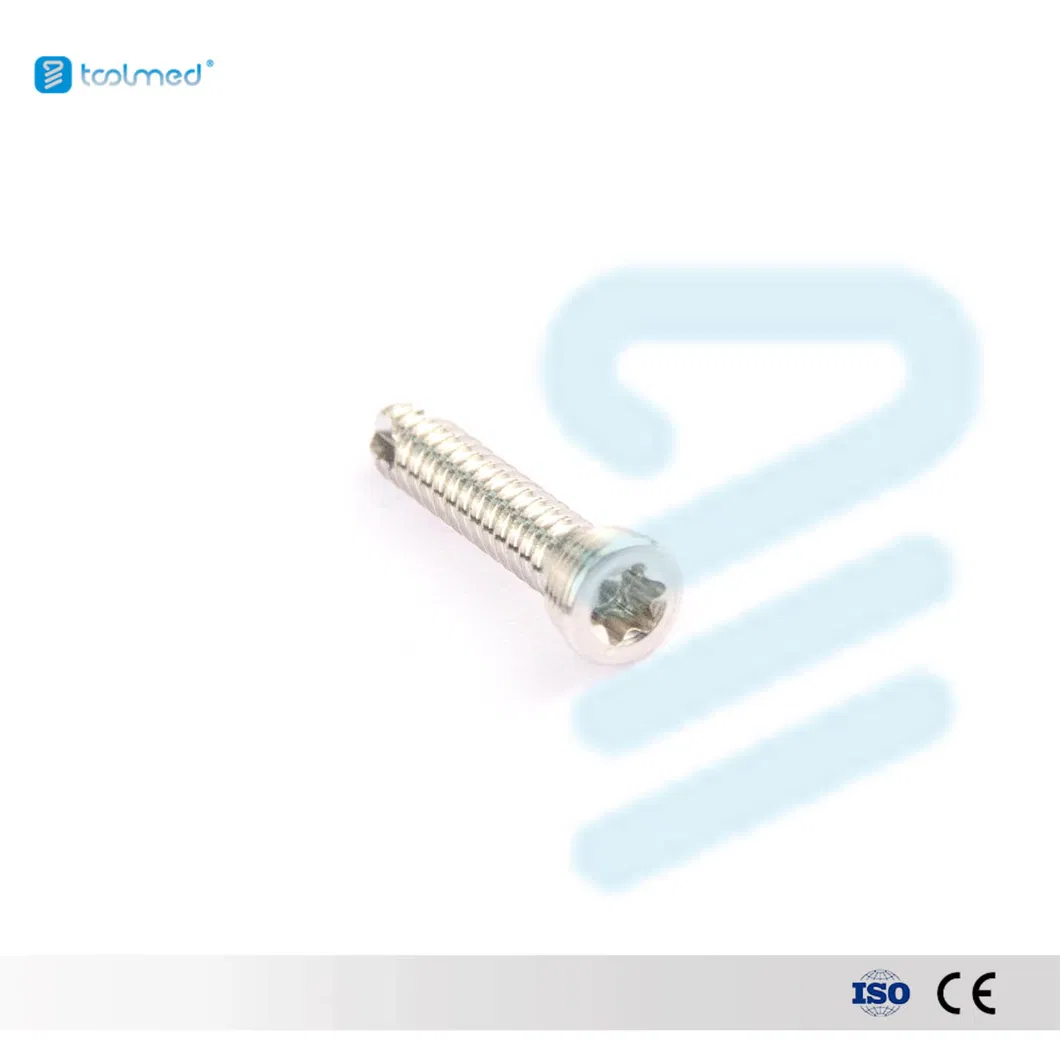
| 1 | 1.5 Self-Tapping Screw (Torx) | 030221150053 | φ1.5×5mm |
| 2 | 1.5 Self-Tapping Screw (Torx) | 030221150063 | φ1.5×6mm |
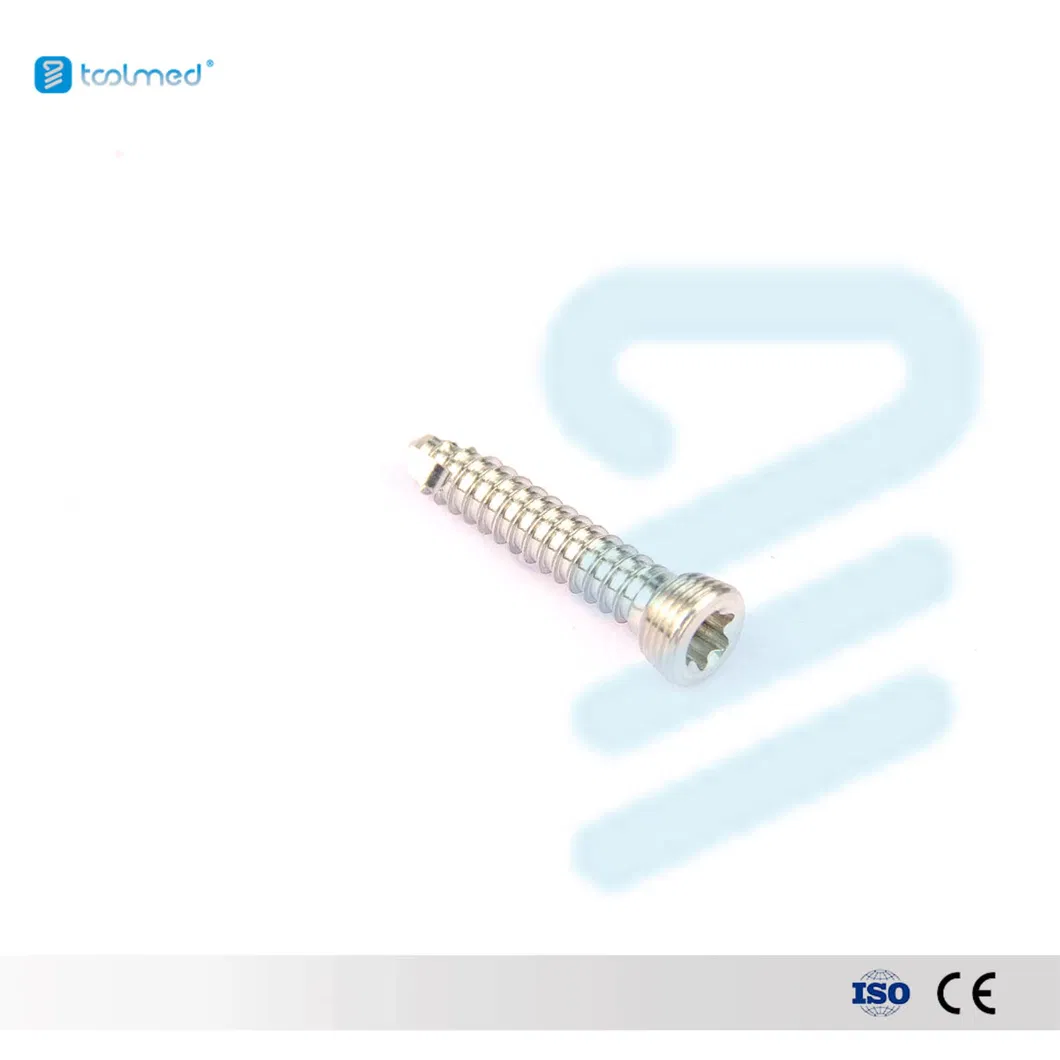
| 13 | 2.0 Self-Tapping Screw (Torx) | 030220200063 | φ2×6mm |
| 26 | 2.4 Self-Tapping Screw (Torx) | 030221240083 | φ2.4×8mm |
| 38 | 2.7 Self-Tapping Screw (Torx) | 030221270083 | φ2.7×8mm |
| 55 | 3.5 Self-Tapping Screw (Torx) | 030222350103 | φ3.5×10mm |